Quick Links
The Settings app in Windows 11 lets you customize your PC, change the keyboard language, update Windows, configure privacy settings, and solve issues. You may find yourself accessing this menu frequently, so we’ll show you the easiest ways to launch it.
1. Use a Keyboard Shortcut
There are many helpful Windows keyboard shortcuts that allow you to navigate the OS and execute tasks easily. If your keyboard has a Windows key, all you have to do is press the Win + I key to open the Settings app.
You can find the Windows key on the left side of the spacebar (it’s next to the Alt key and has the Windows logo on it). Once you’re in the Settings app, you can select System from the left sidebar to access the system settings menu.
2. Use Windows Search
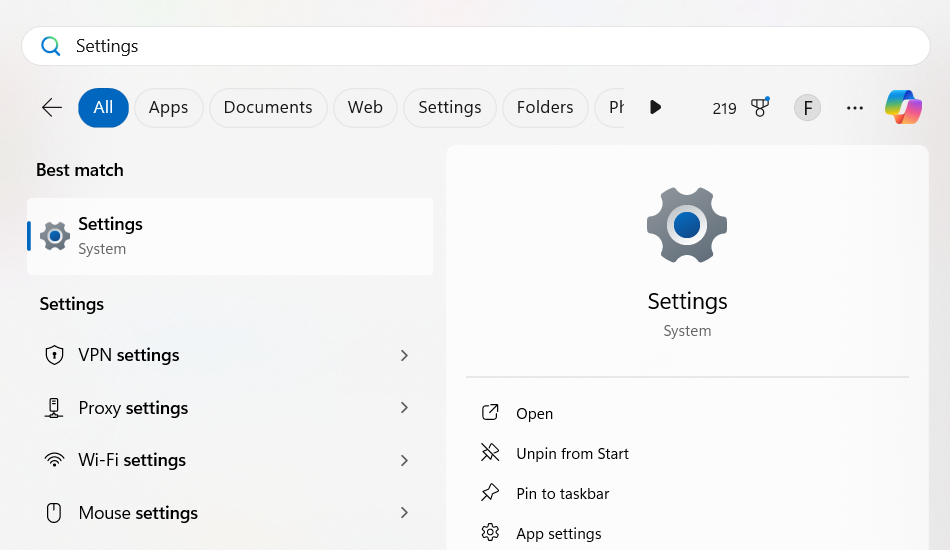
You can also locate built-in apps like the Settings app using Windows Search. To do this, click Search (or the Start menu) in the taskbar or press Win + S to open Windows Search. Type Settings in the search box and click the result under Best Match.
3. Use Quick Settings or Action Center
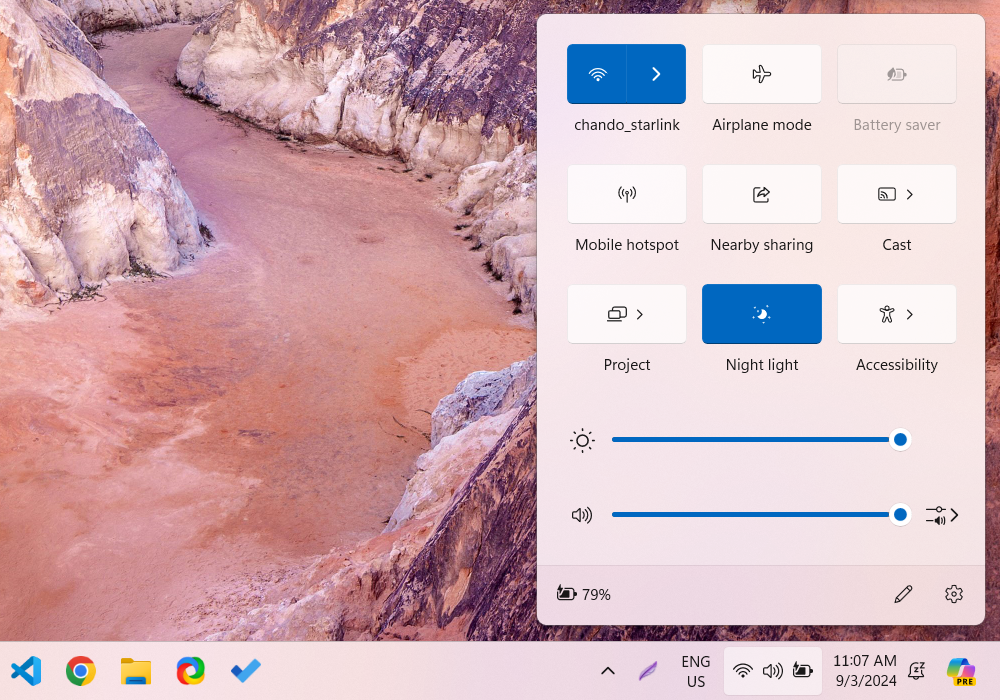
Quick Settings (Windows 11) or Action Center (Windows 10) lets you quickly access common settings, such as Wi-Fi, Bluetooth, Airplane mode, Battery Saver, and volume controls. You can also use it to access all your settings if the ones you want to tweak aren’t on the panel.
To open Quick Settings, click the status icon (Wi-Fi, speaker, and battery) on the right side of the taskbar or press Win + A. Then, click All settings—the gear icon—to open the Settings app.
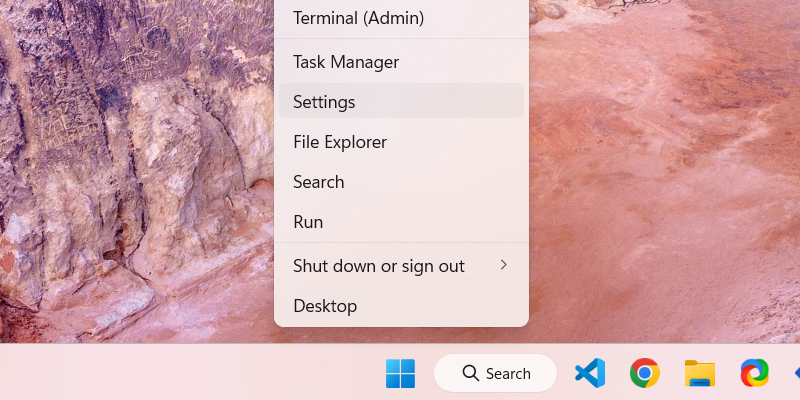
The WinX menu—also known as the Power User menu—offers one of the easiest ways to access the Settings app on Windows. To use it, right-click Start in the taskbar (or press Win + X on your keyboard) and select Settings from the context menu that appears.
Now, it’s worth noting that there are certain Windows issues you can’t solve using the Settings app alone. So, you may also want to take a step further and learn about the Windows Startup Settings, which lets you uninstall updates, repair, or restore your Windows PC.


