Key Takeaways
- Increase sharpness for texture photos, decrease for landscapes. Use editing apps and social media features.
- Color grade images using Lightroom or Photoshop Express. Use Lightroom CC and VSCO for split toning.
- Add contrast and experiment with clarity. Utilize tone curves, presets, brilliance, brightness, and temperature adjustments. Explore free editing tools.
Even if you don’t have a DSLR or mirrorless camera, you can still make your smartphone pictures look like they were taken on one. Numerous editing tools will help you in this respect, and I’ve outlined my favorite ones below.
1 Improving the Sharpness
Smartphone photos can sometimes be flat, but you can easily change this by increasing the sharpness. I recommend doing this when photographing textures, such as trees and blankets. You may benefit from doing the opposite if you’ve captured a landscape or some architecture.
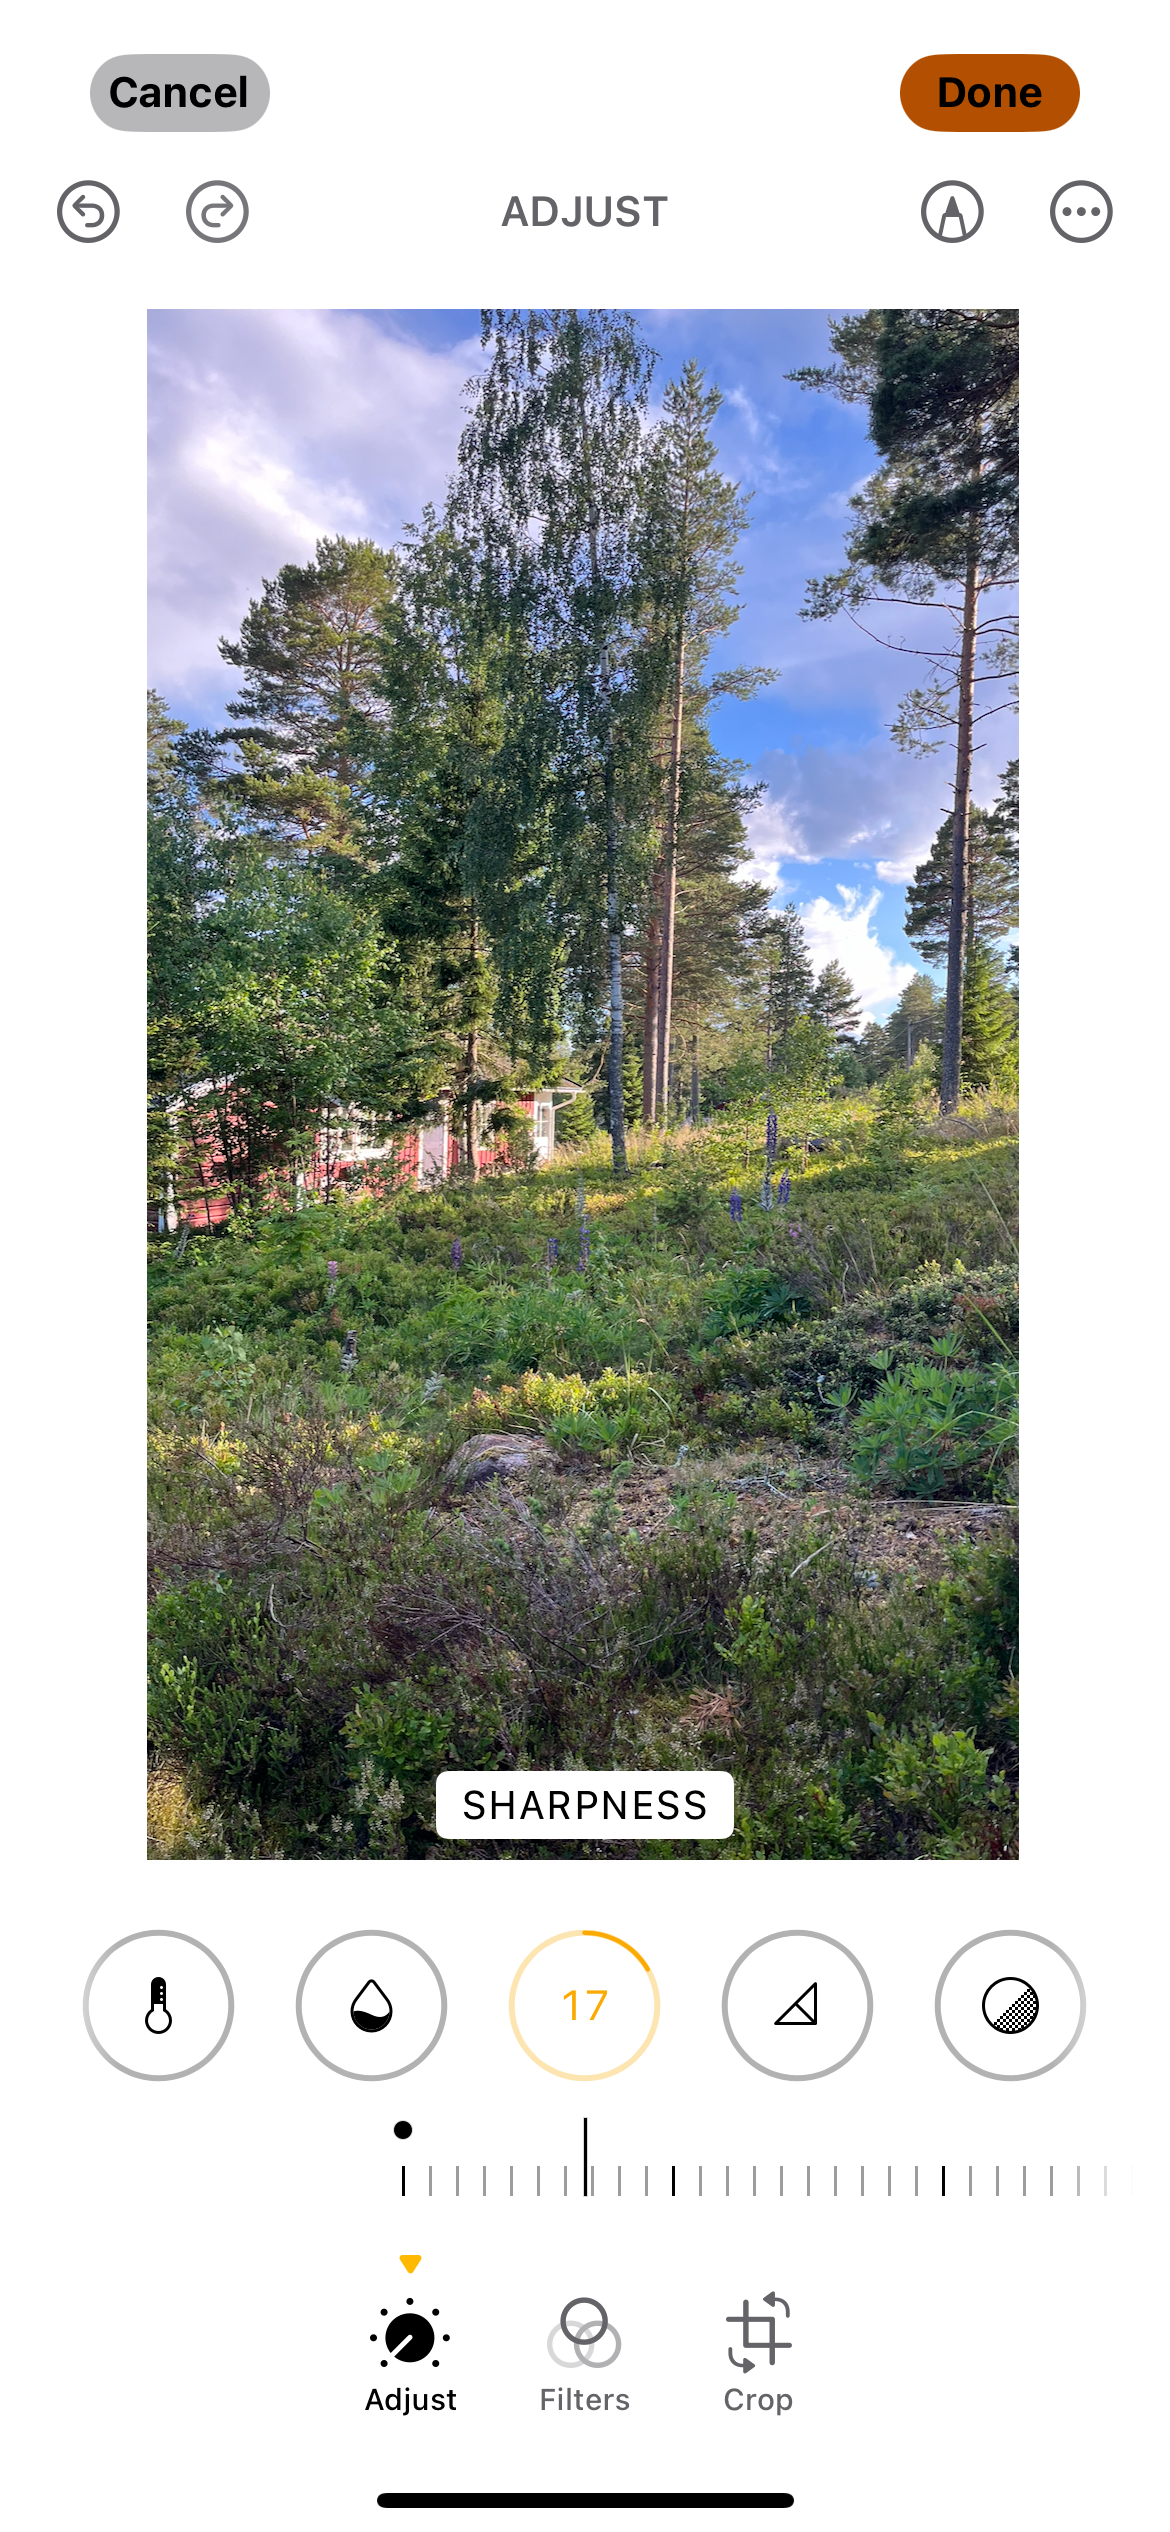
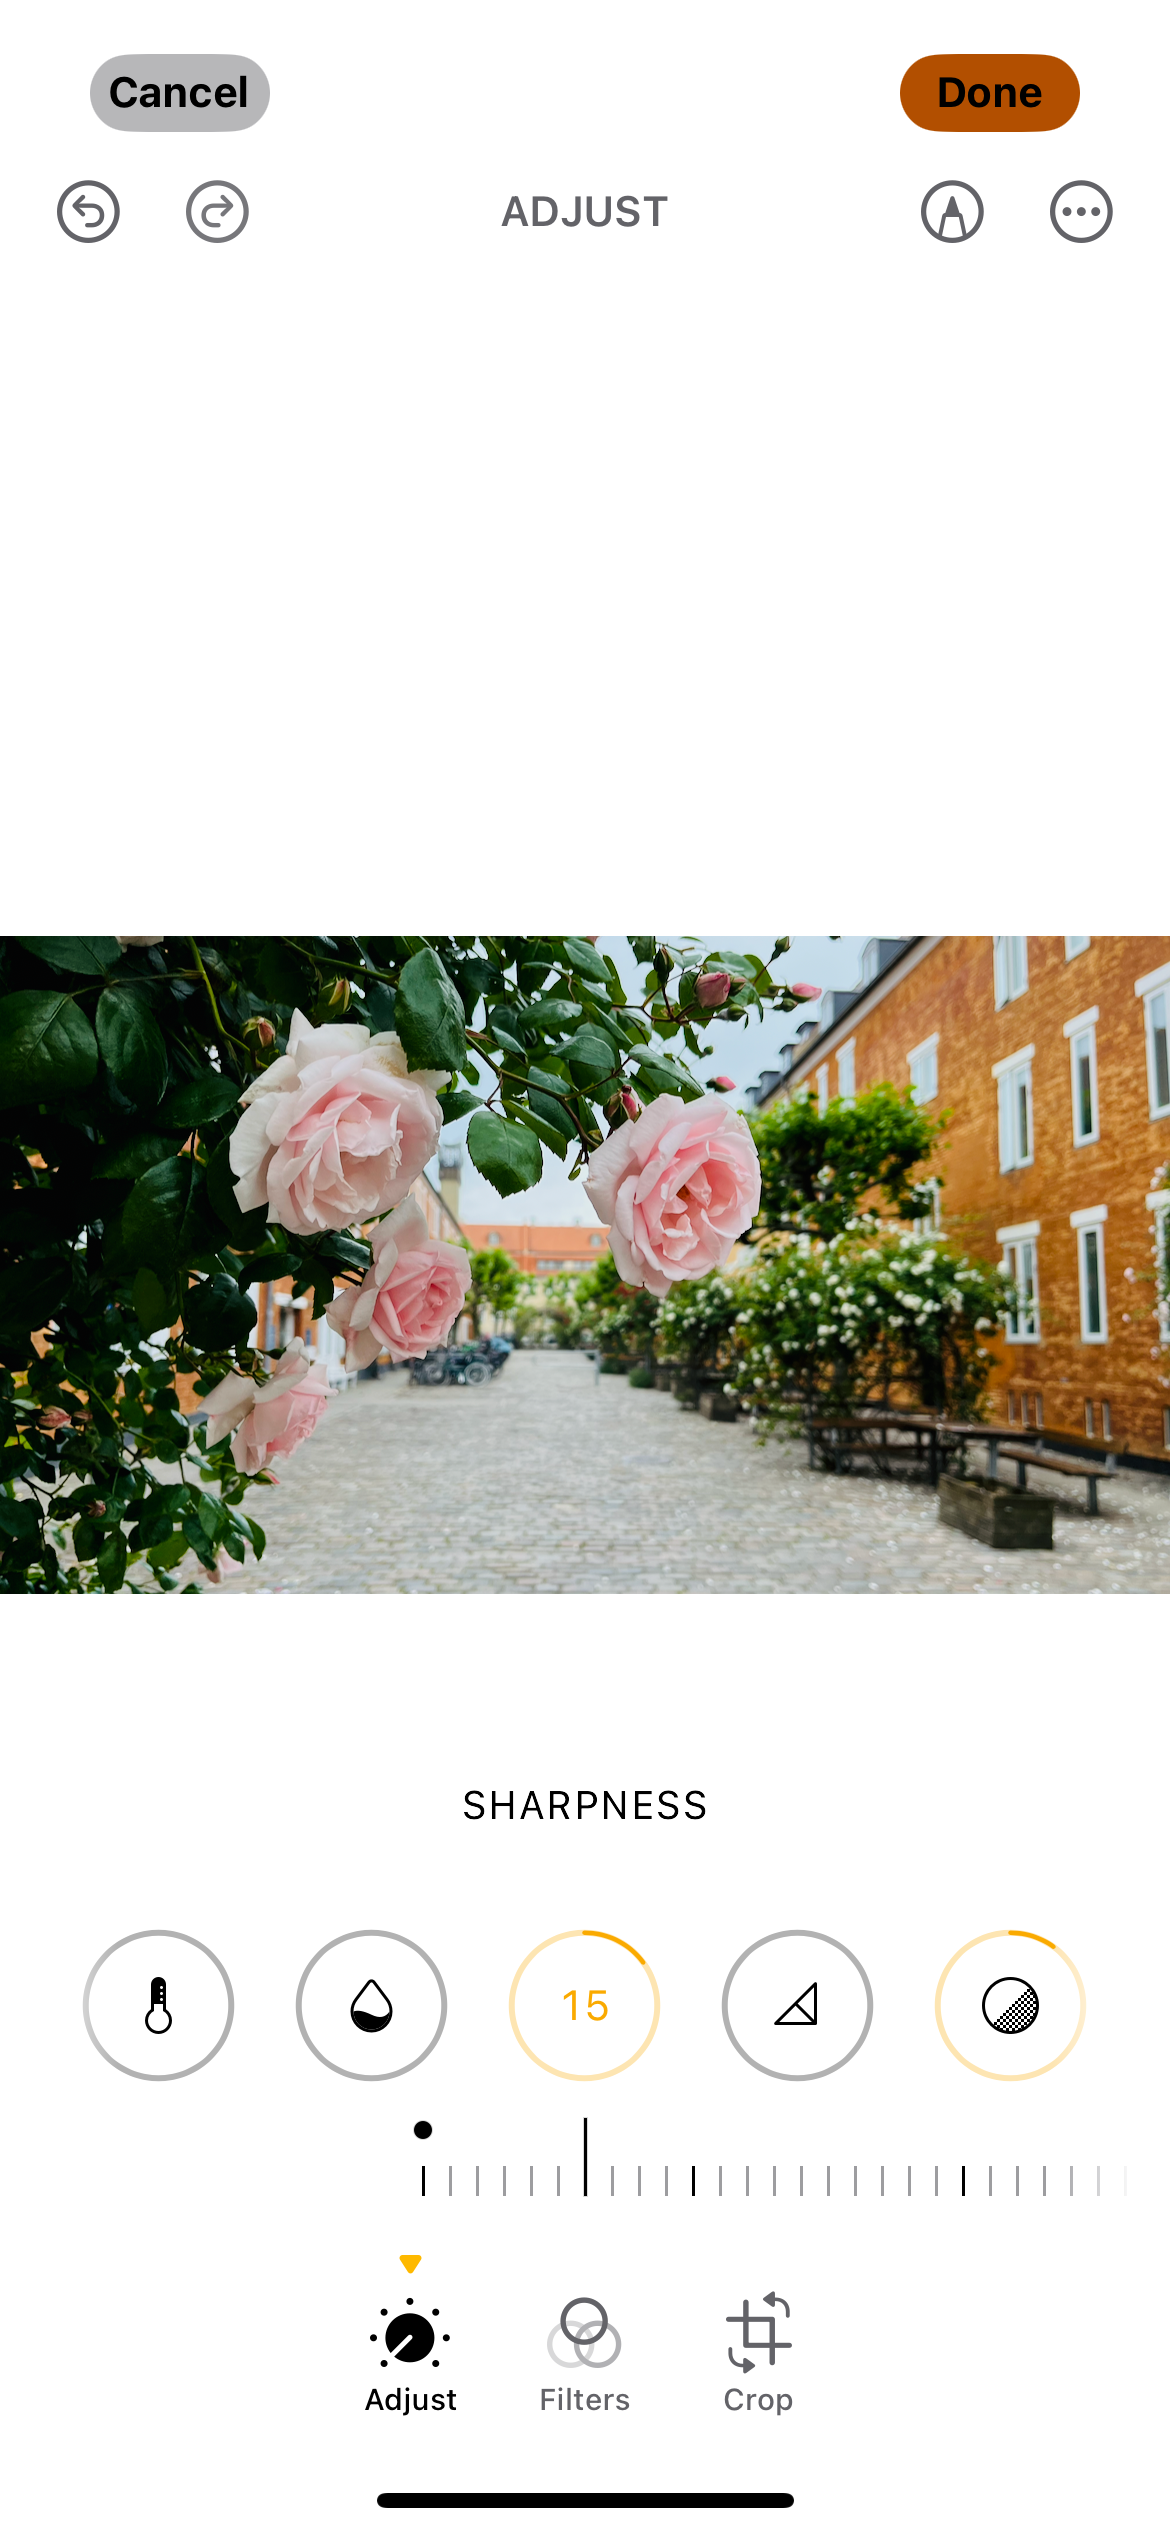
Regardless of whether you’re increasing or decreasing your photo sharpness, virtually every app will let you do this (including the native photo app on your phone). You can also sometimes edit the sharpness when uploading your image to social media; Instagram has a feature for this, for example.
My only warning here would be to use sharpness sparingly because too much can start to make your photo look more like a drawing.
2 Color Grading or Split Toning
As soon as I learned how to color grade my pictures, my photography dramatically leveled up. Color grading involves changing the hue and luminance for specific areas of your images, and you can use the same tools to make your pictures look warmer or cooler.
I use Lightroom to color grade my pictures, and in my opinion, the Adobe Photography Plan is well worth it. However, you can use Photoshop Express (available on iOS and Android) if you don’t want to spend money. Photoshop Express has Split Toning, which is what Color Grading replaced in Lightroom. With Split Toning, you can adjust the shadows and highlights.
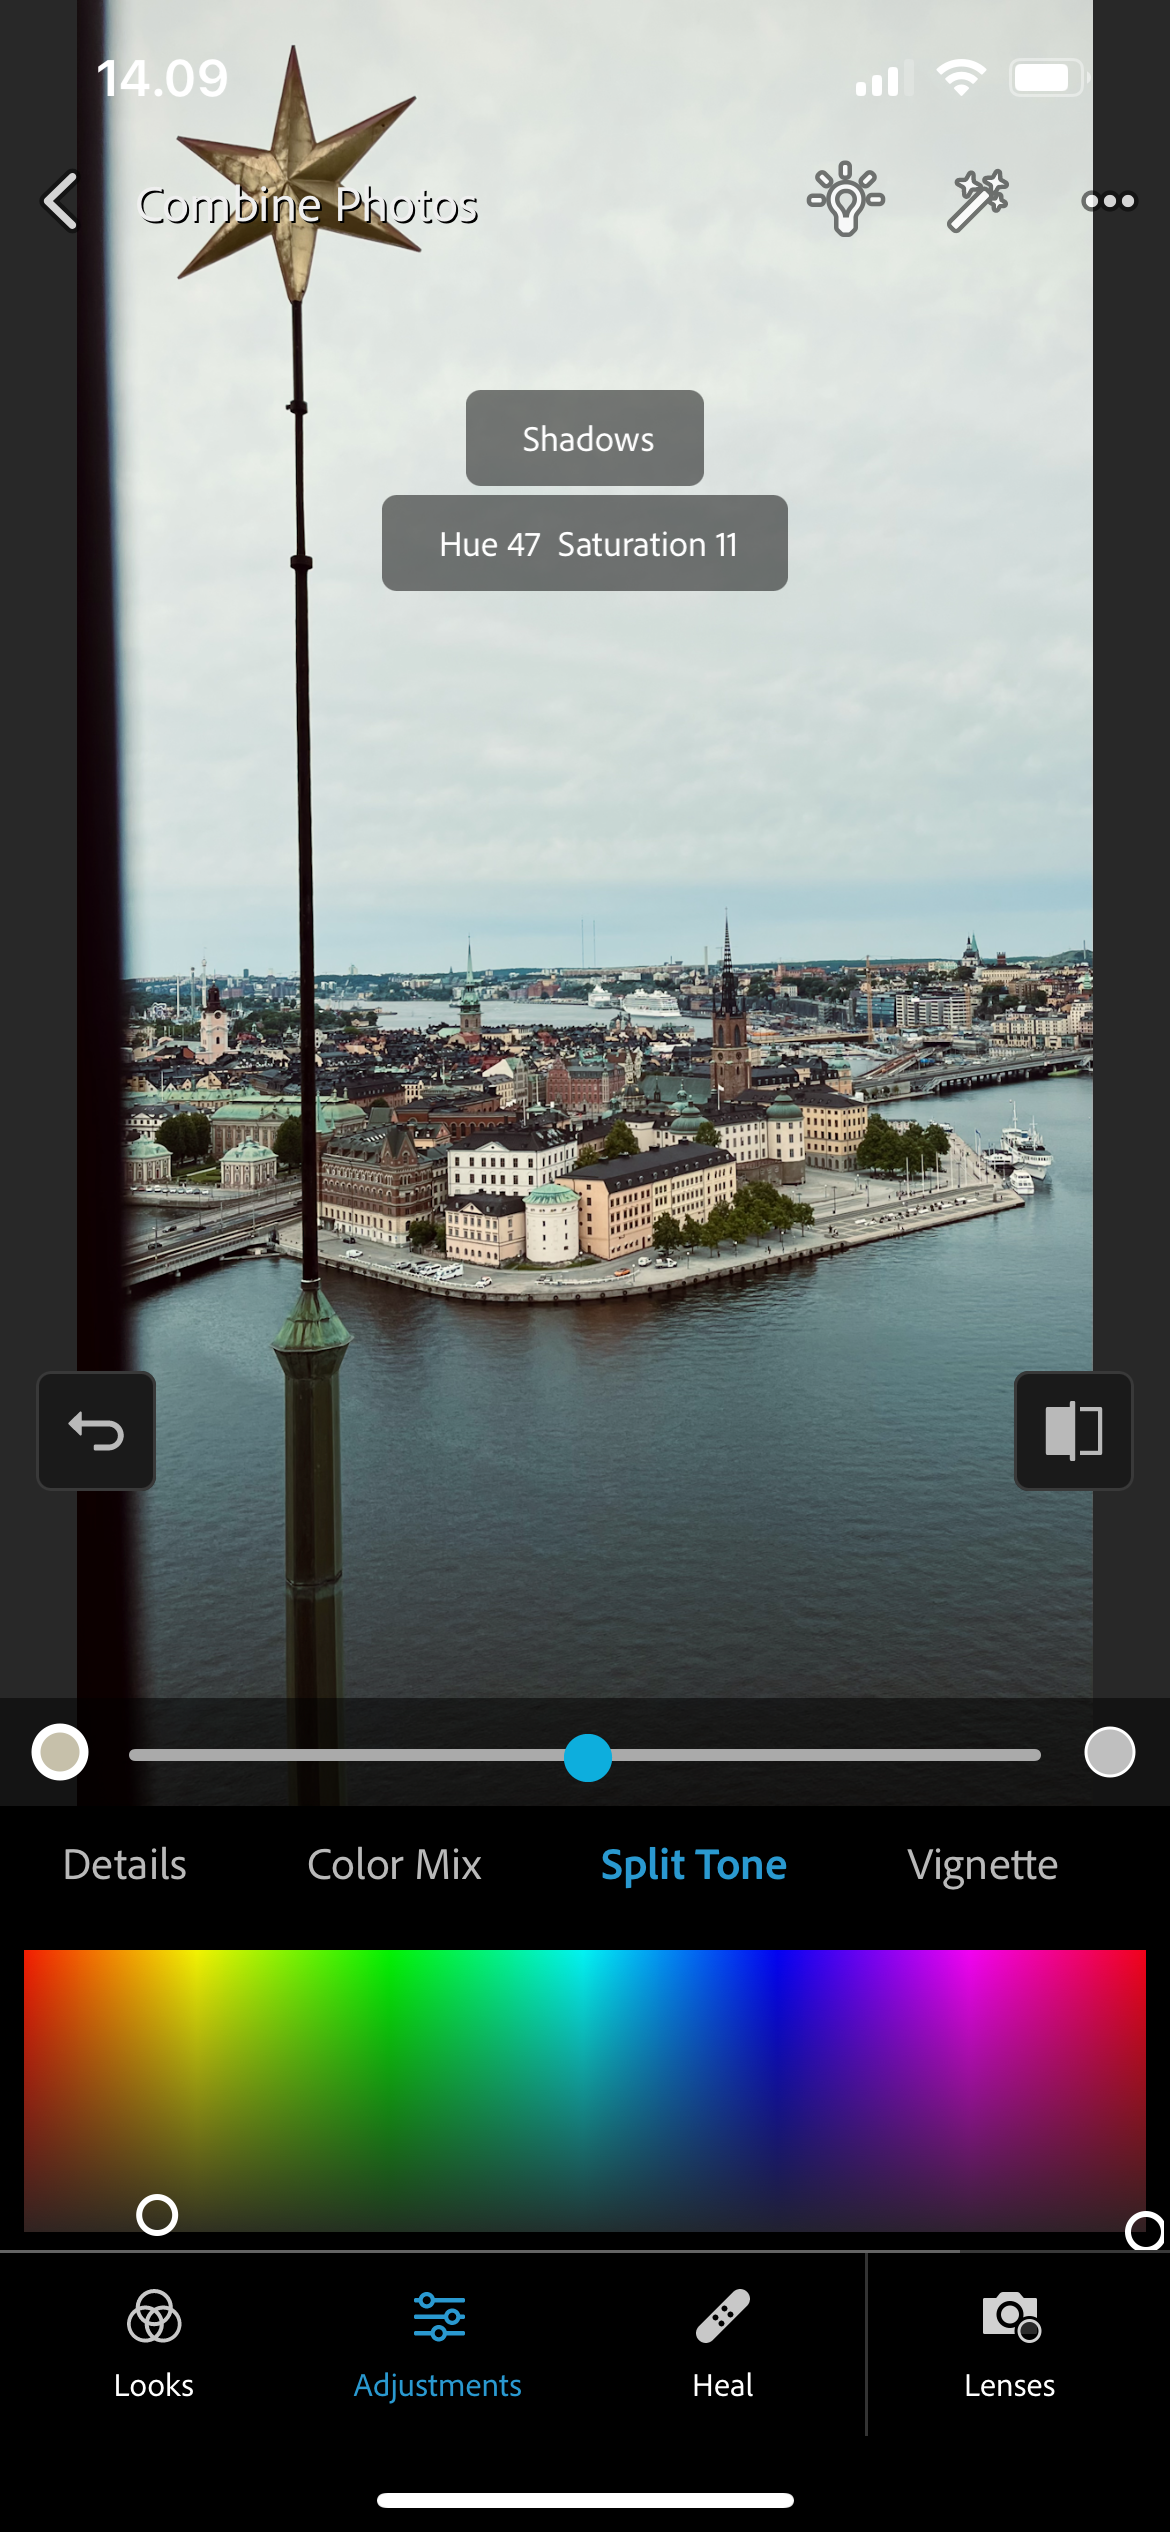
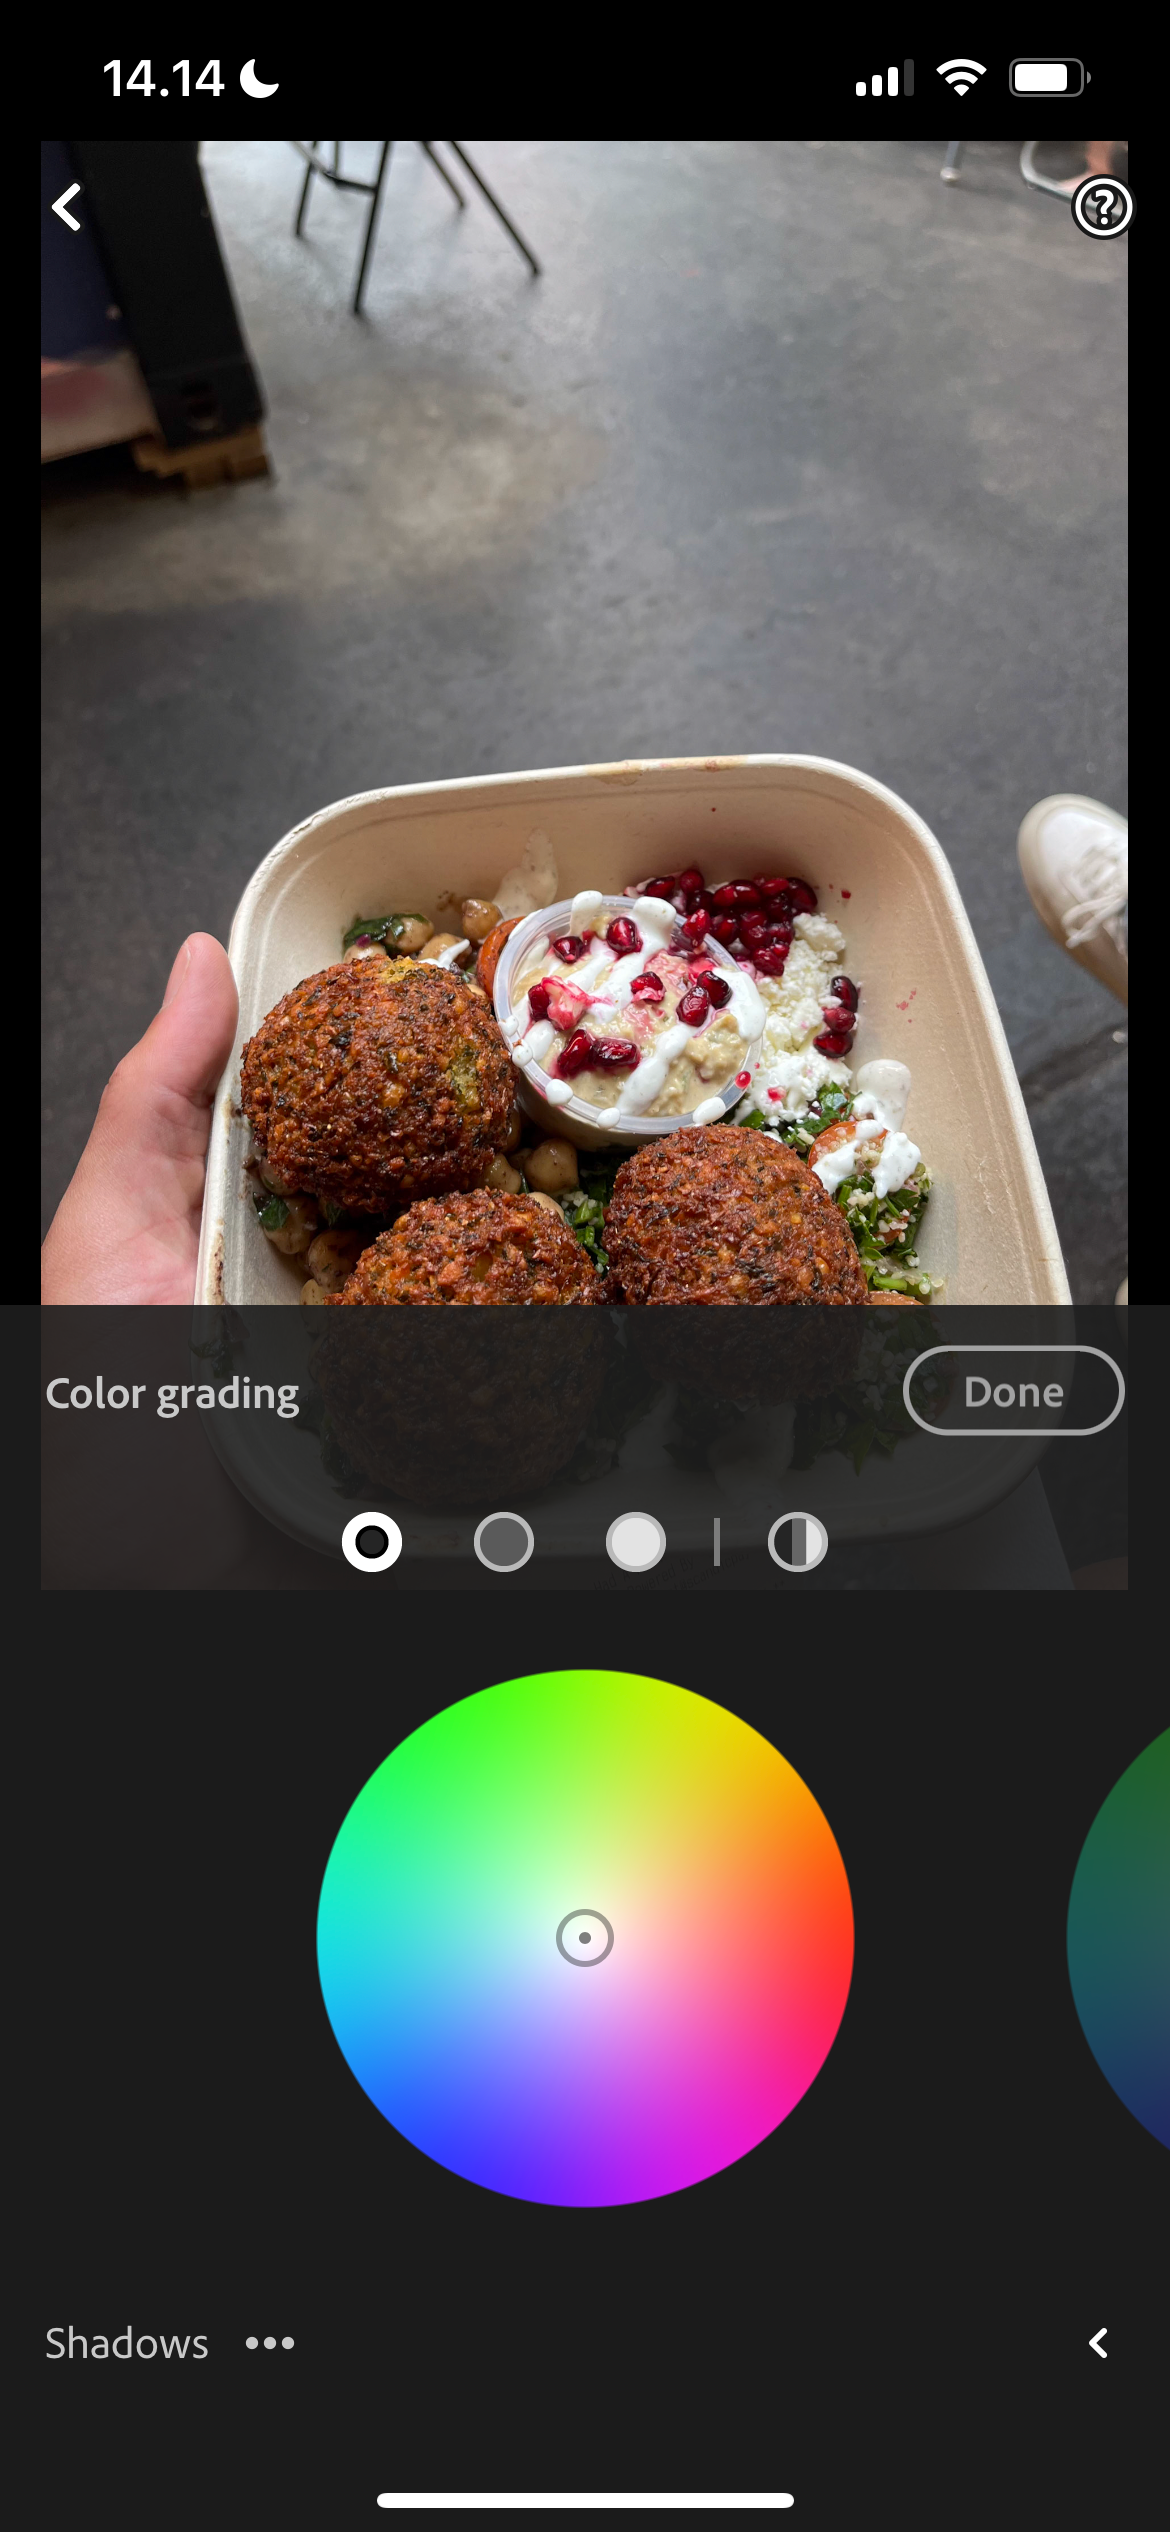
Split Toning is also available in VSCO; consider comparing Lightroom CC and VSCO before choosing your preferred platform.
3 Adding Contrast
Another way that I like to make my smartphone pictures look like they were taken with a DSLR is by adding contrast. When editing my Fujifilm photos, I often enjoy including a lot of contrast in my pictures; doing the same with my smartphone images is a great way to make my photo styles consistent across all devices.
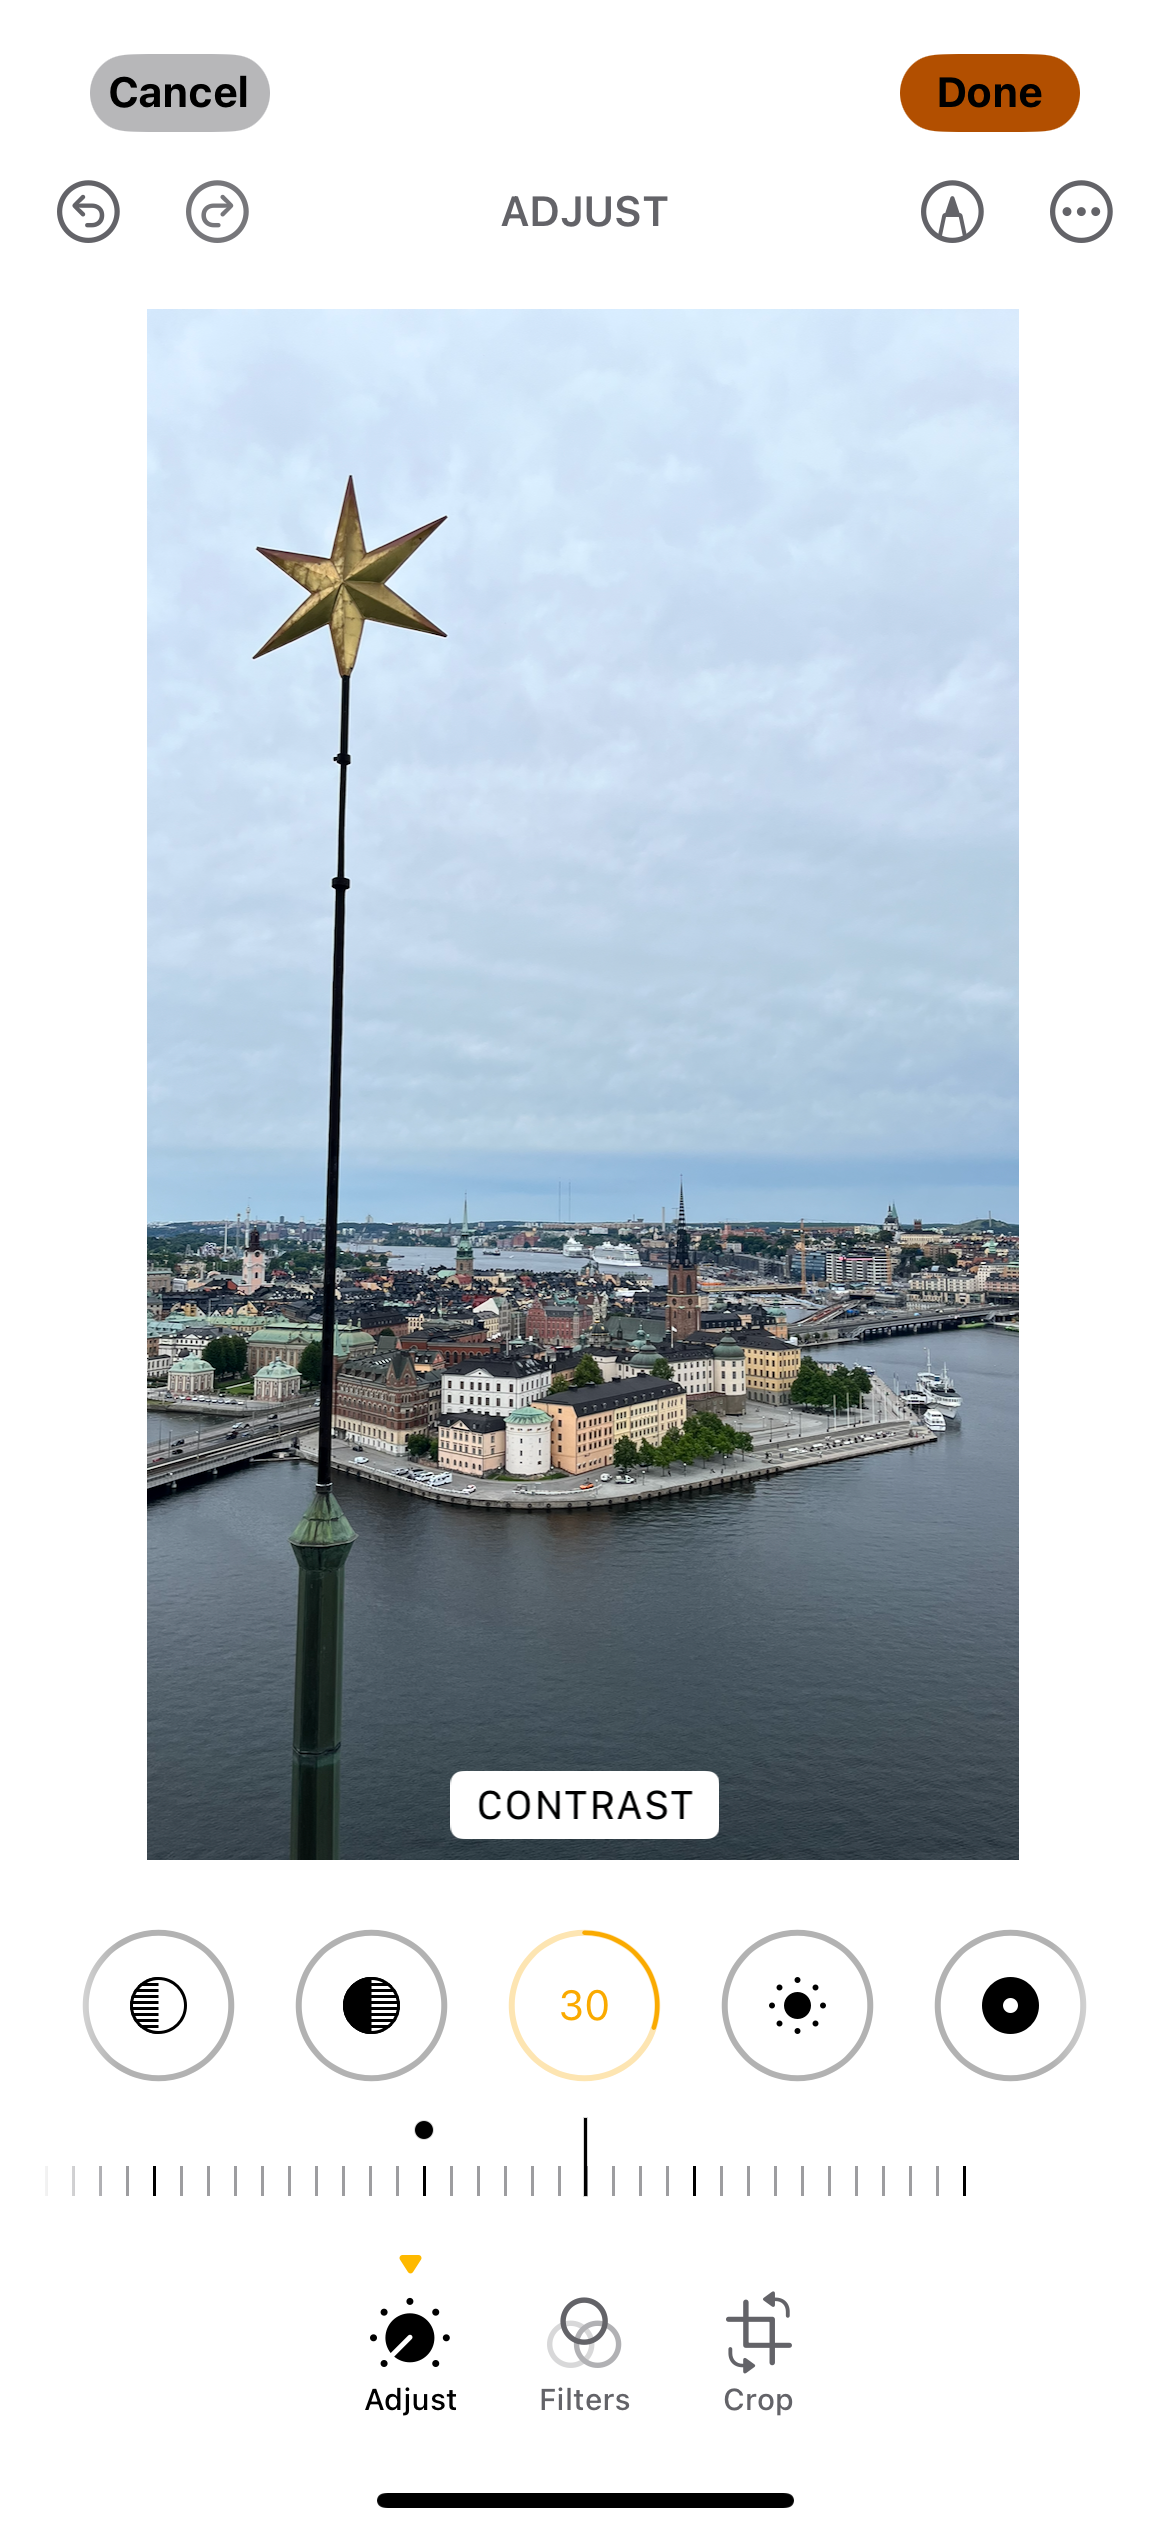
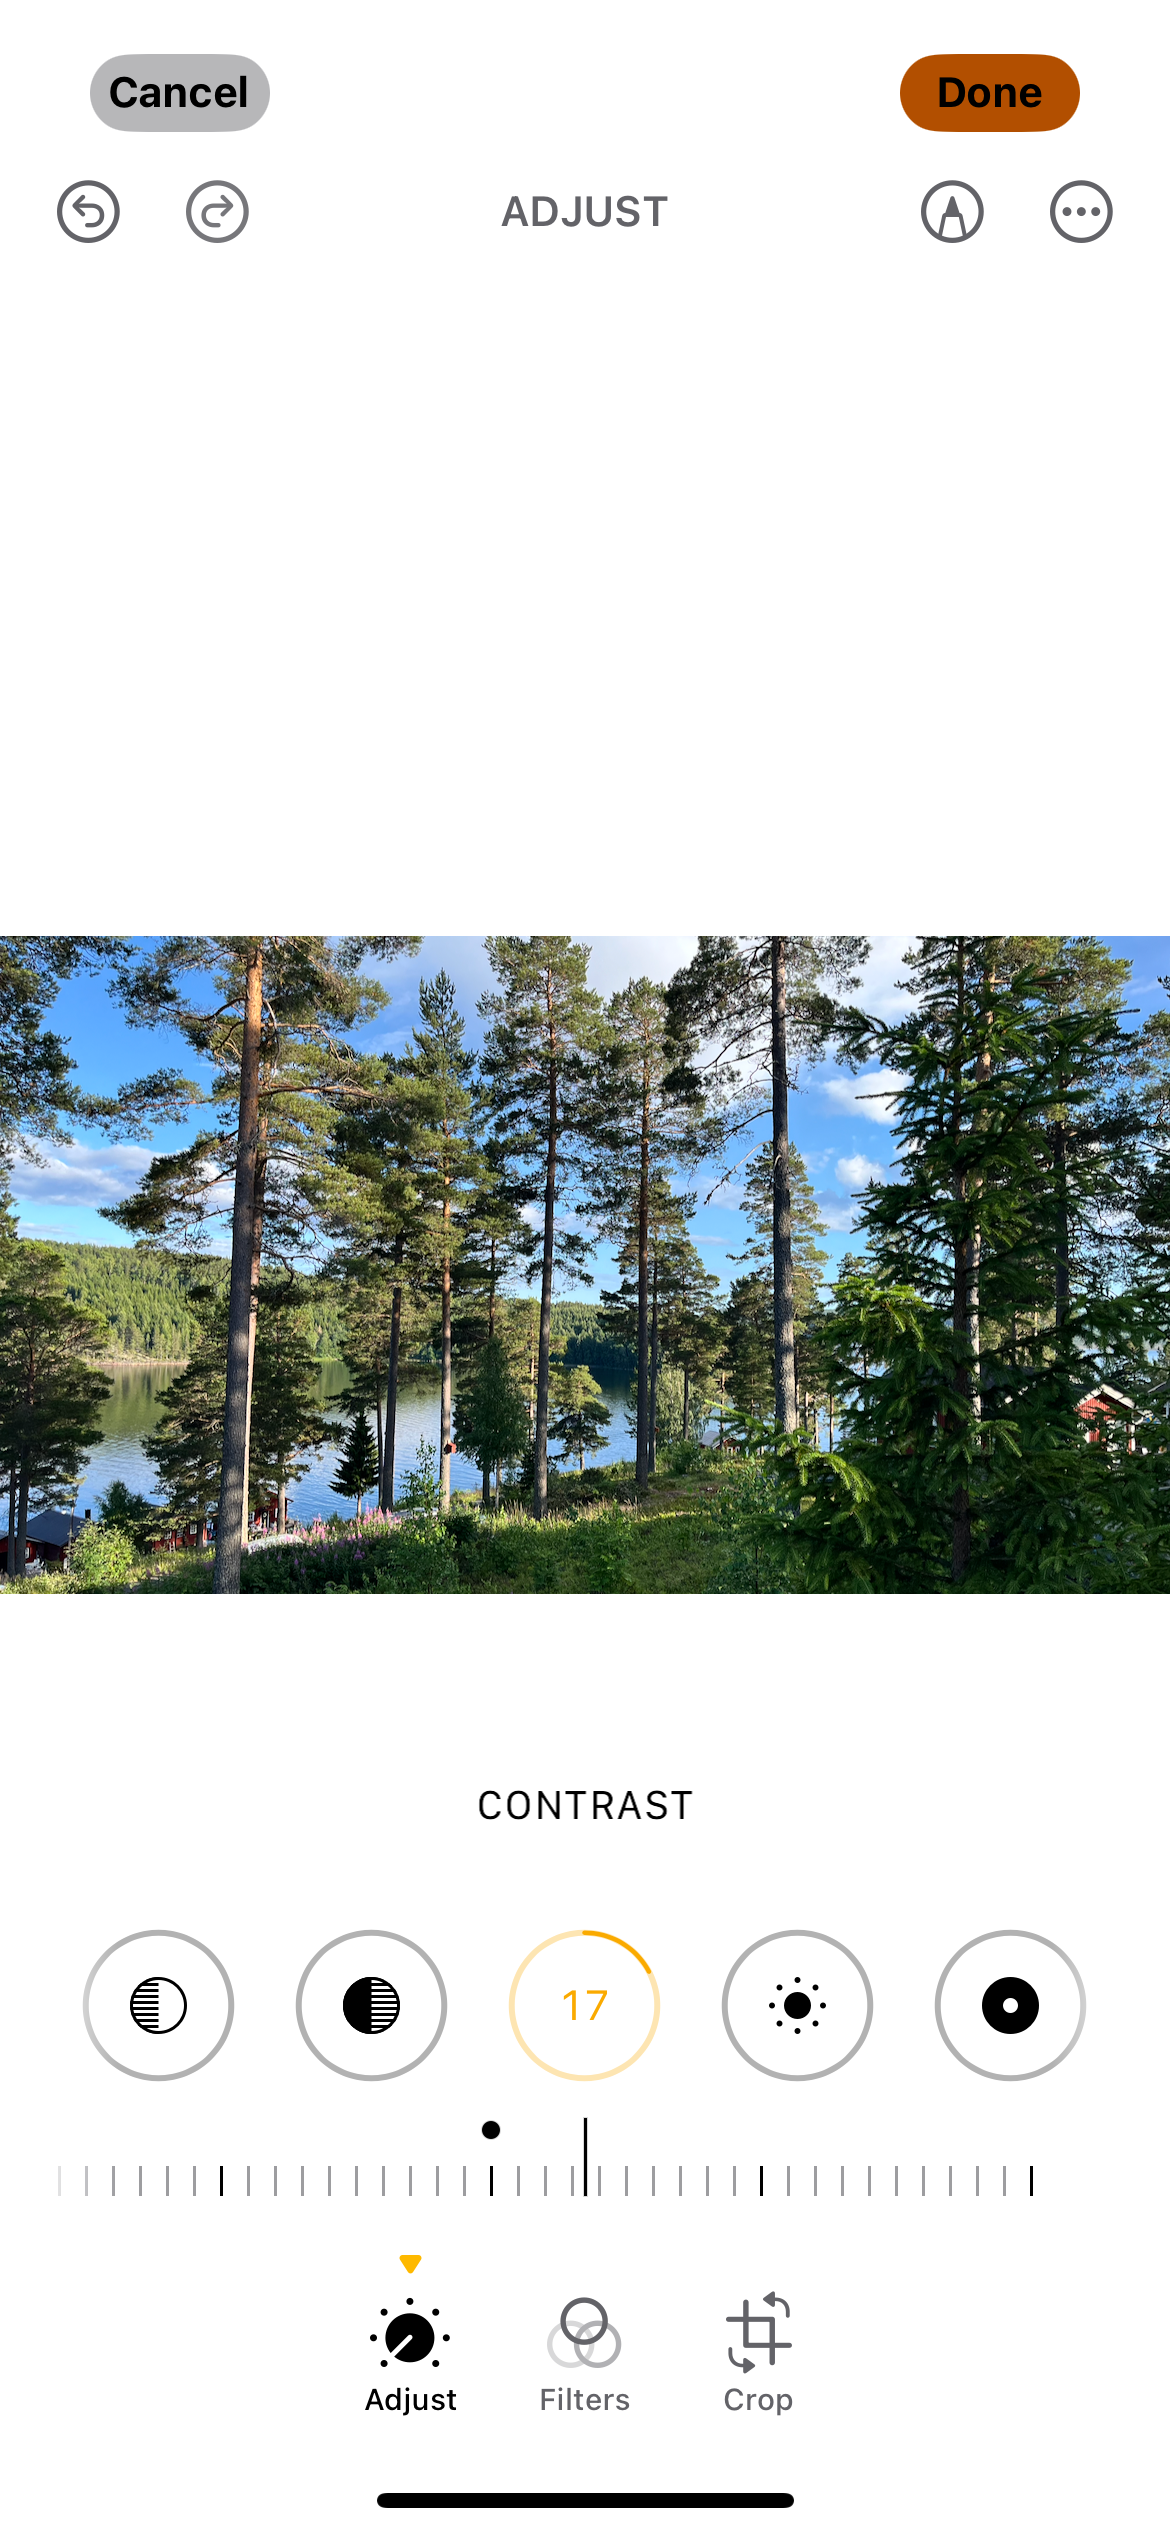
Like adding sharpness, you can easily put more contrast into your pictures from the editing app on your smartphone. Another advanced technique to try is going into Lightroom and moving the Blacks slider to the left while moving the Whites slider to the right.
You can experiment with adding contrast, as I think that smartphone image files have more room for tweaking things here. Learning about high-contrast photography before you start is also a good idea.
4 Removing Clarity
I used to be big on adding clarity to my photos, and I’m definitely not the only photographer who has overdone this slider. Since around the beginning of 2024, I’ve experimented with doing the opposite. To be honest, I think that my photos look much better now that I’m not excessively moving the clarity slider to the right.
Clarity isn’t as accessible as some other tools on this list, but popular apps like Lightroom still have the feature. If you use an iPhone, you can use Noise Reduction instead; this will have roughly the same effect. Learning about what Clarity in Lightroom is, and when you should use it, will also help you use the tool more effectively.
5 Tone Curve
Although Tone Curve is difficult to learn, it’s a fantastic tool for making your smartphone photos look DSLR-quality. The tool is available in Lightroom; using an S-curve is common, but you can experiment to see what works for you. For example, I’ll move some of the lighting toward the middle of the picture and downward in some photos.
Besides editing the lighting in different parts of your picture, Lightroom also has RGB Tone Curve tools that can make a huge difference to your images. I love adding a bit of aqua, for example, and I’ll play around with the blue/yellow slider depending on the mood I want to evoke.
6 Using Presets and Recipes
You can easily get Instagram-style filters on your smartphone, and it’s also possible to use different presets and recipes for photo editing. For example, your smartphone will have a range of filters to add to your images (you can also adjust the intensity).
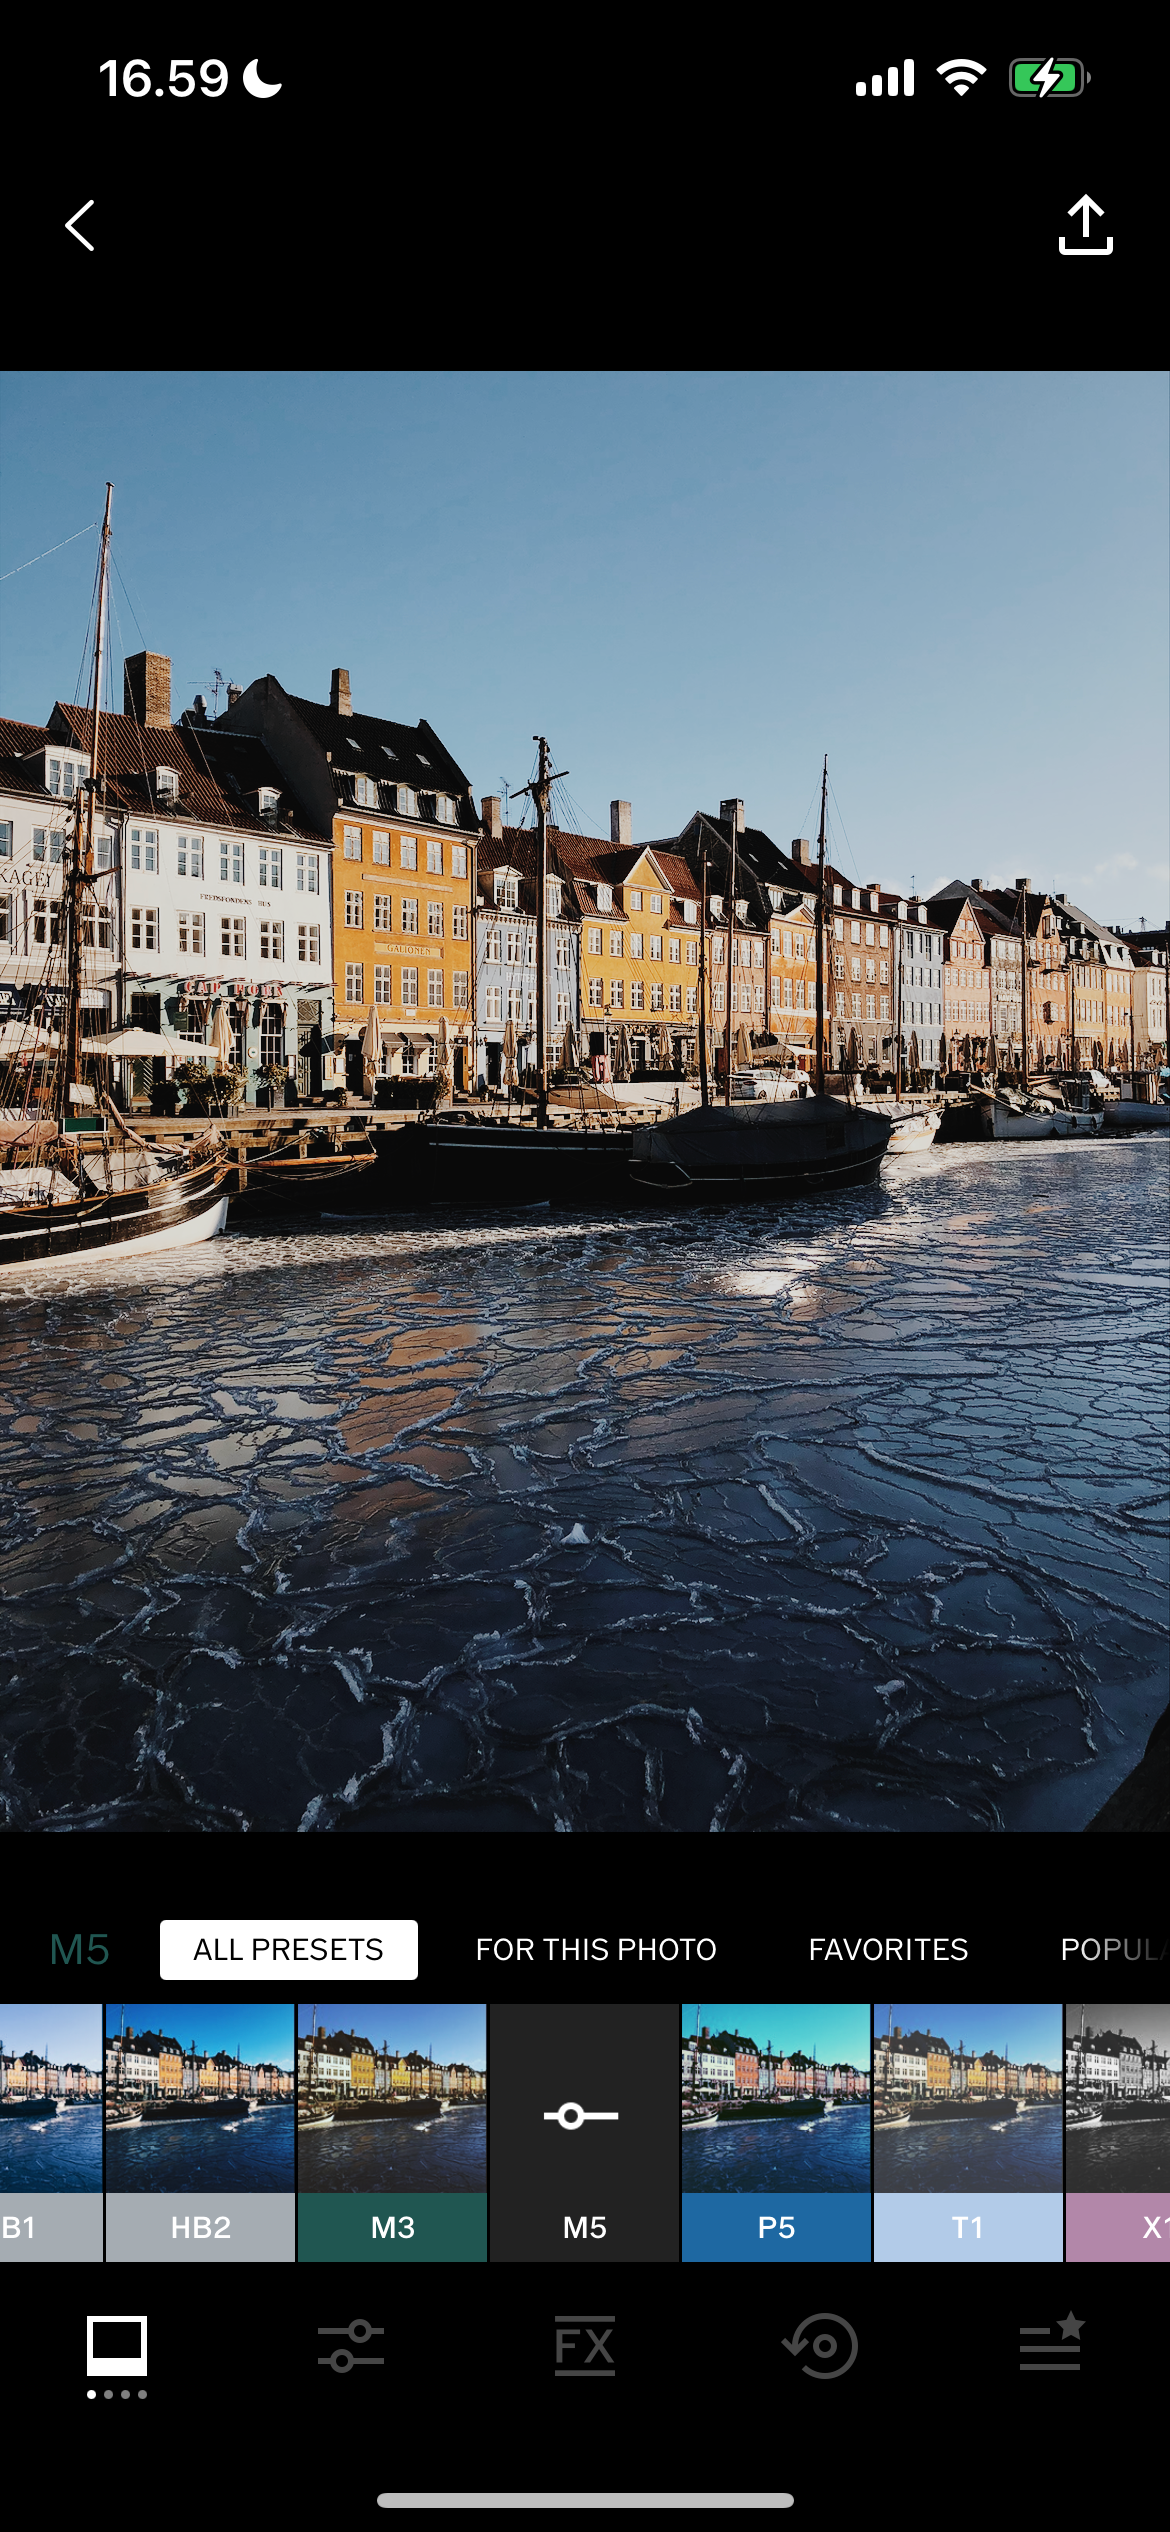
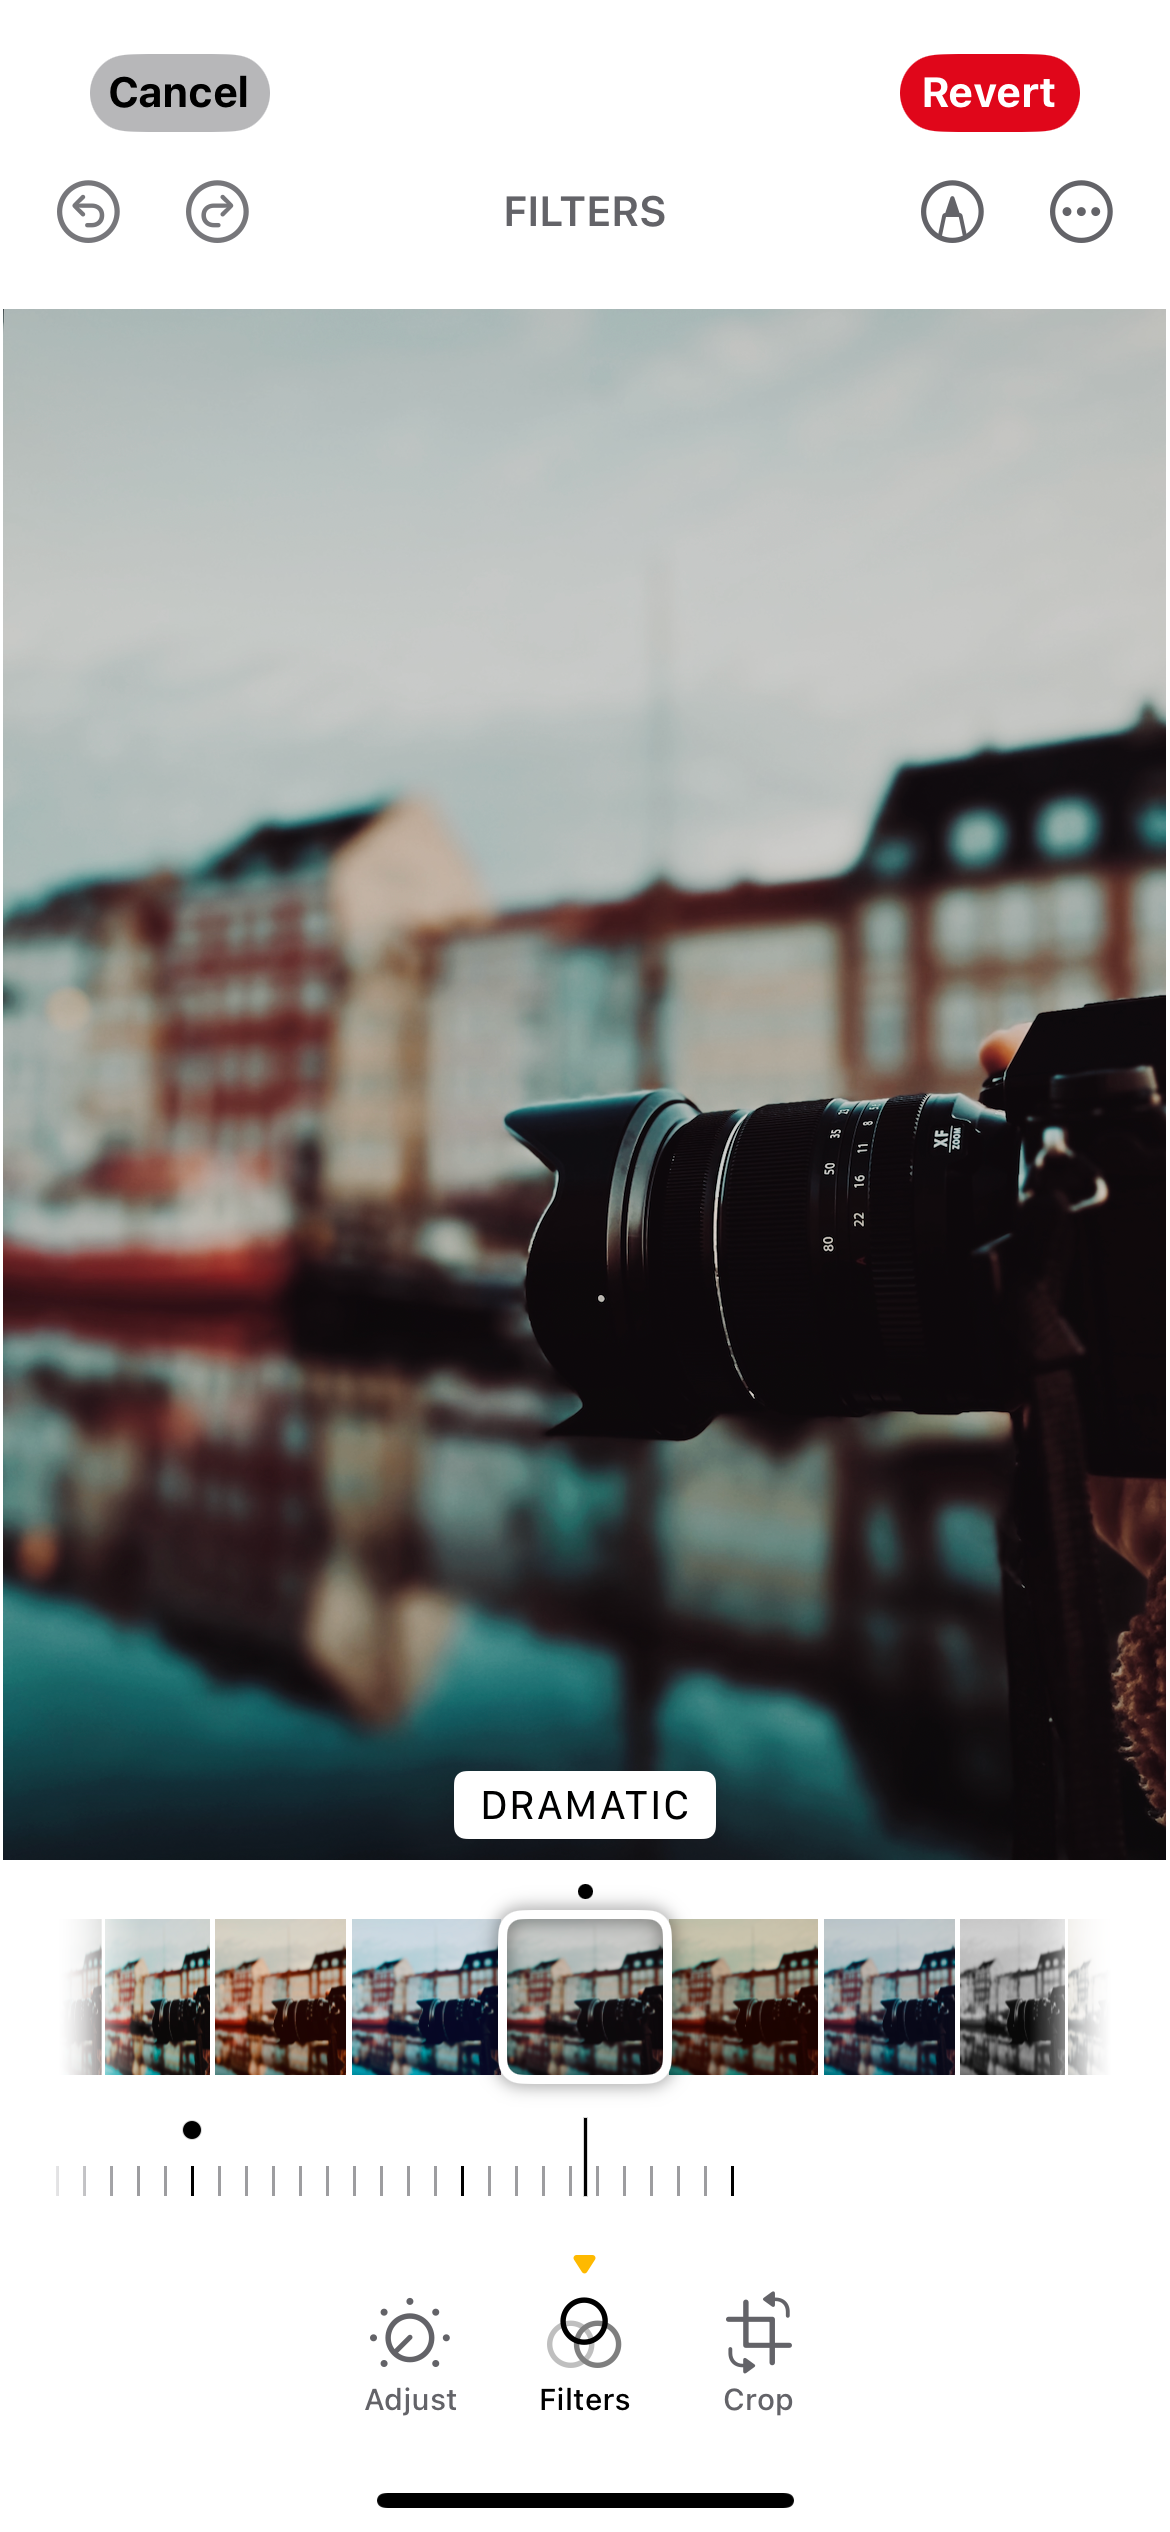
VSCO’s presets are also fantastic for smartphone photos; one reason to upgrade from VSCO Free to VSCO Plus is that you get more filters. However, even without a paid subscription, you’ll still receive access to some cool filters. Moreover, you can save one of your own as a recipe with a free plan.
Filters, presets, and recipes (they’re all the same thing but with different names) are available within most photo editing software. I use a few different options, and I recommend doing the same.
7 Altering the Brilliance
Brilliance is one of the most underrated smartphone editing features, in my opinion. Moving the slider to the right will increase the brightness in various parts of your picture, and the opposite will happen if you go the other way. This is a really good tool if you have too much contrast in your pictures, or you simply have a lot of bright or dark areas.
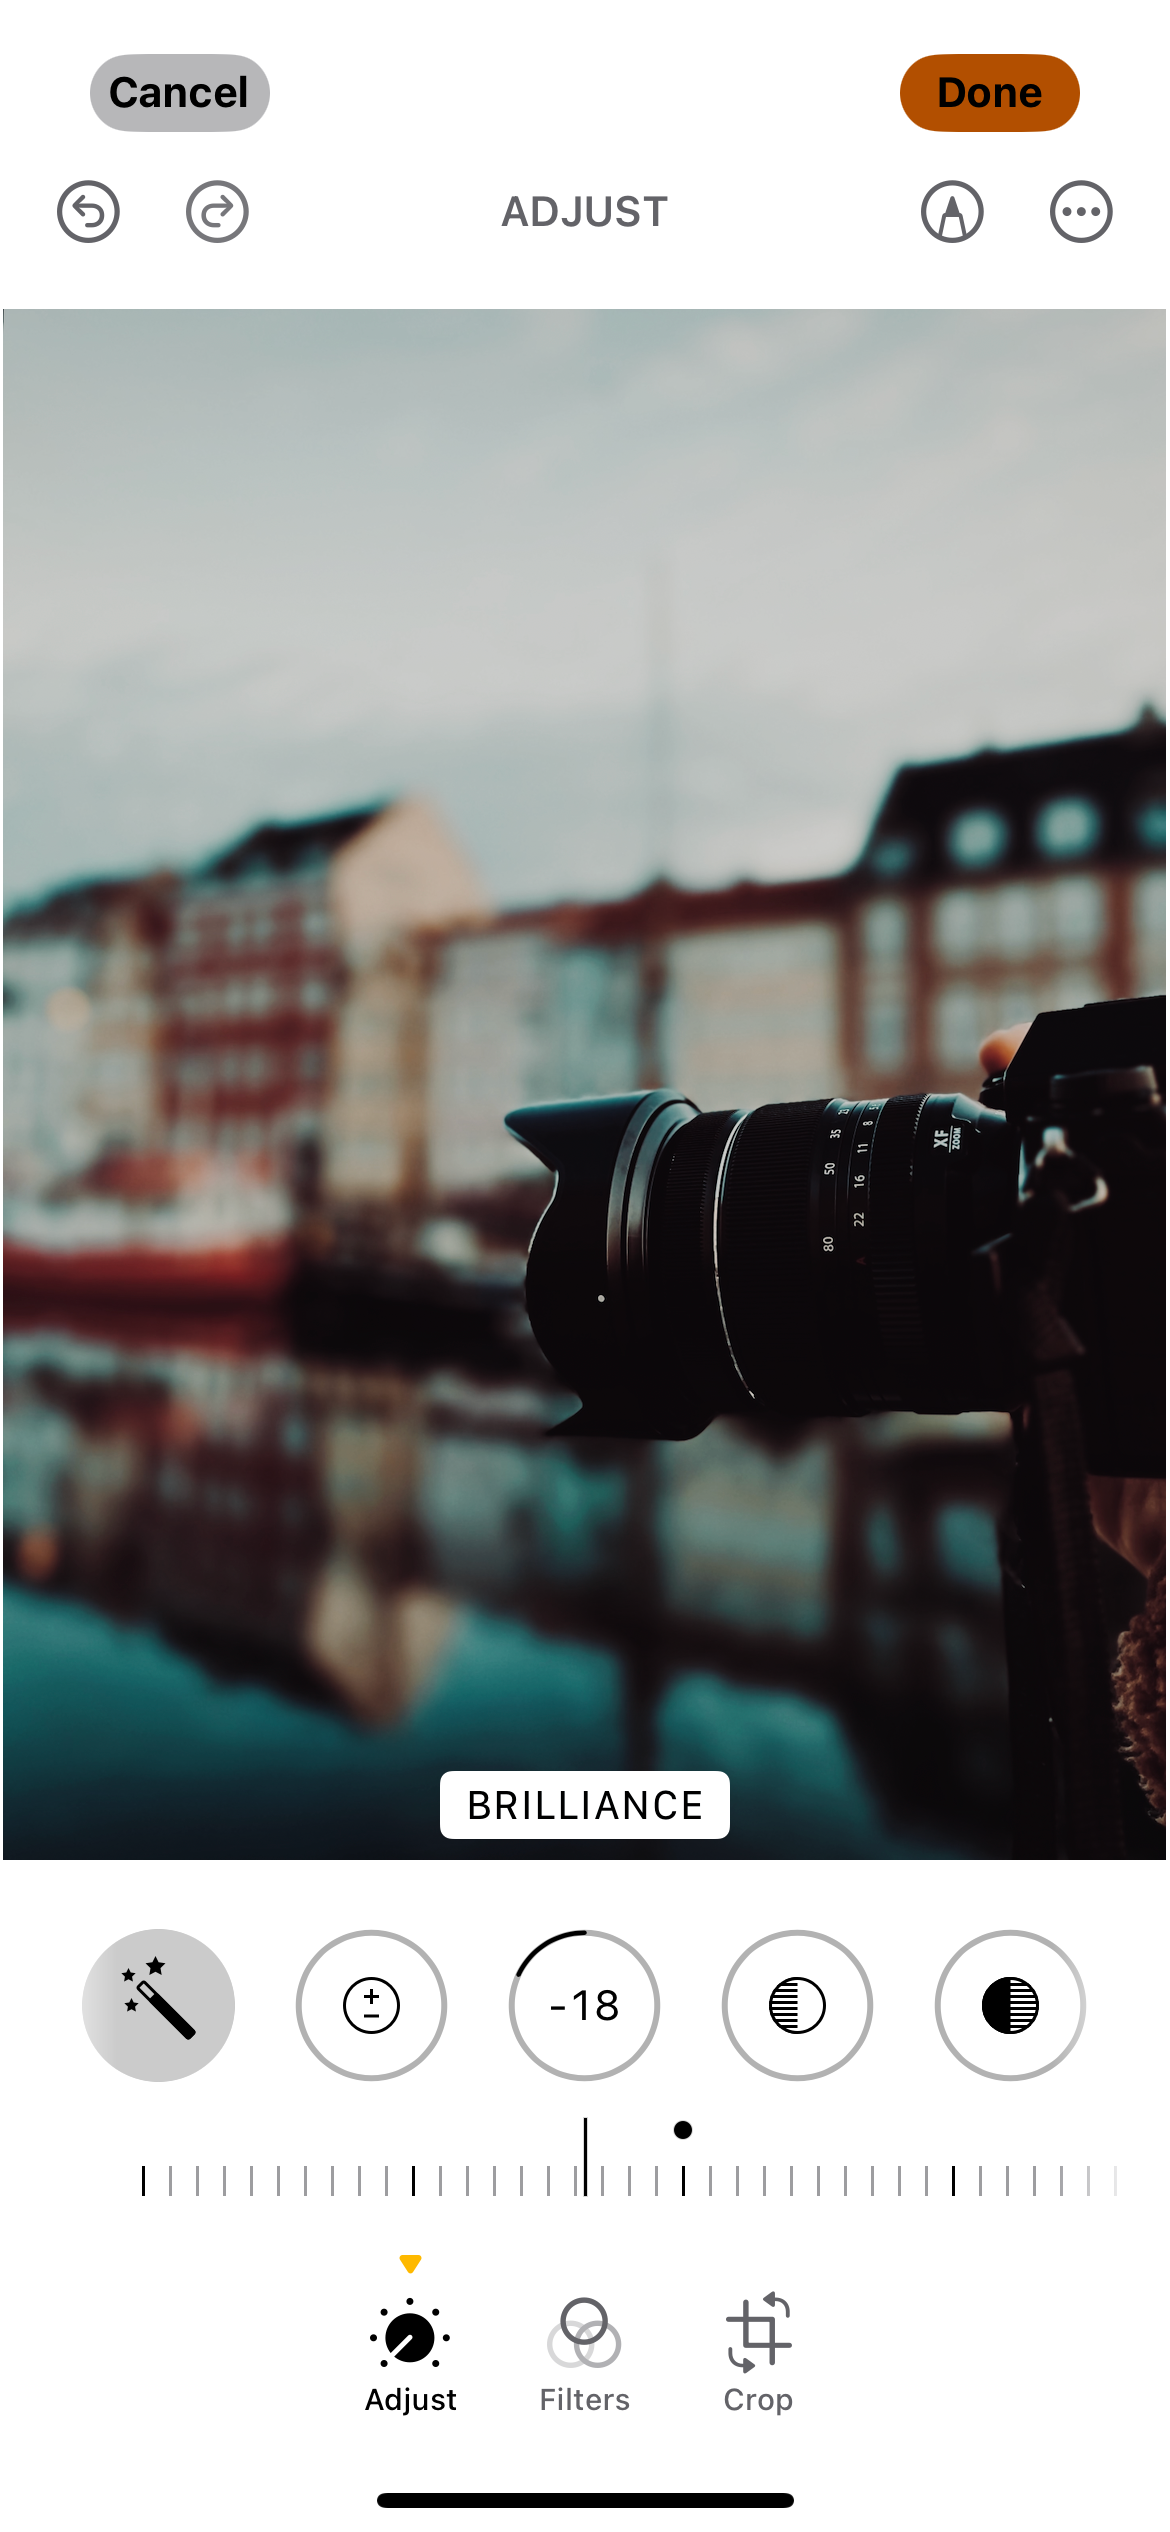
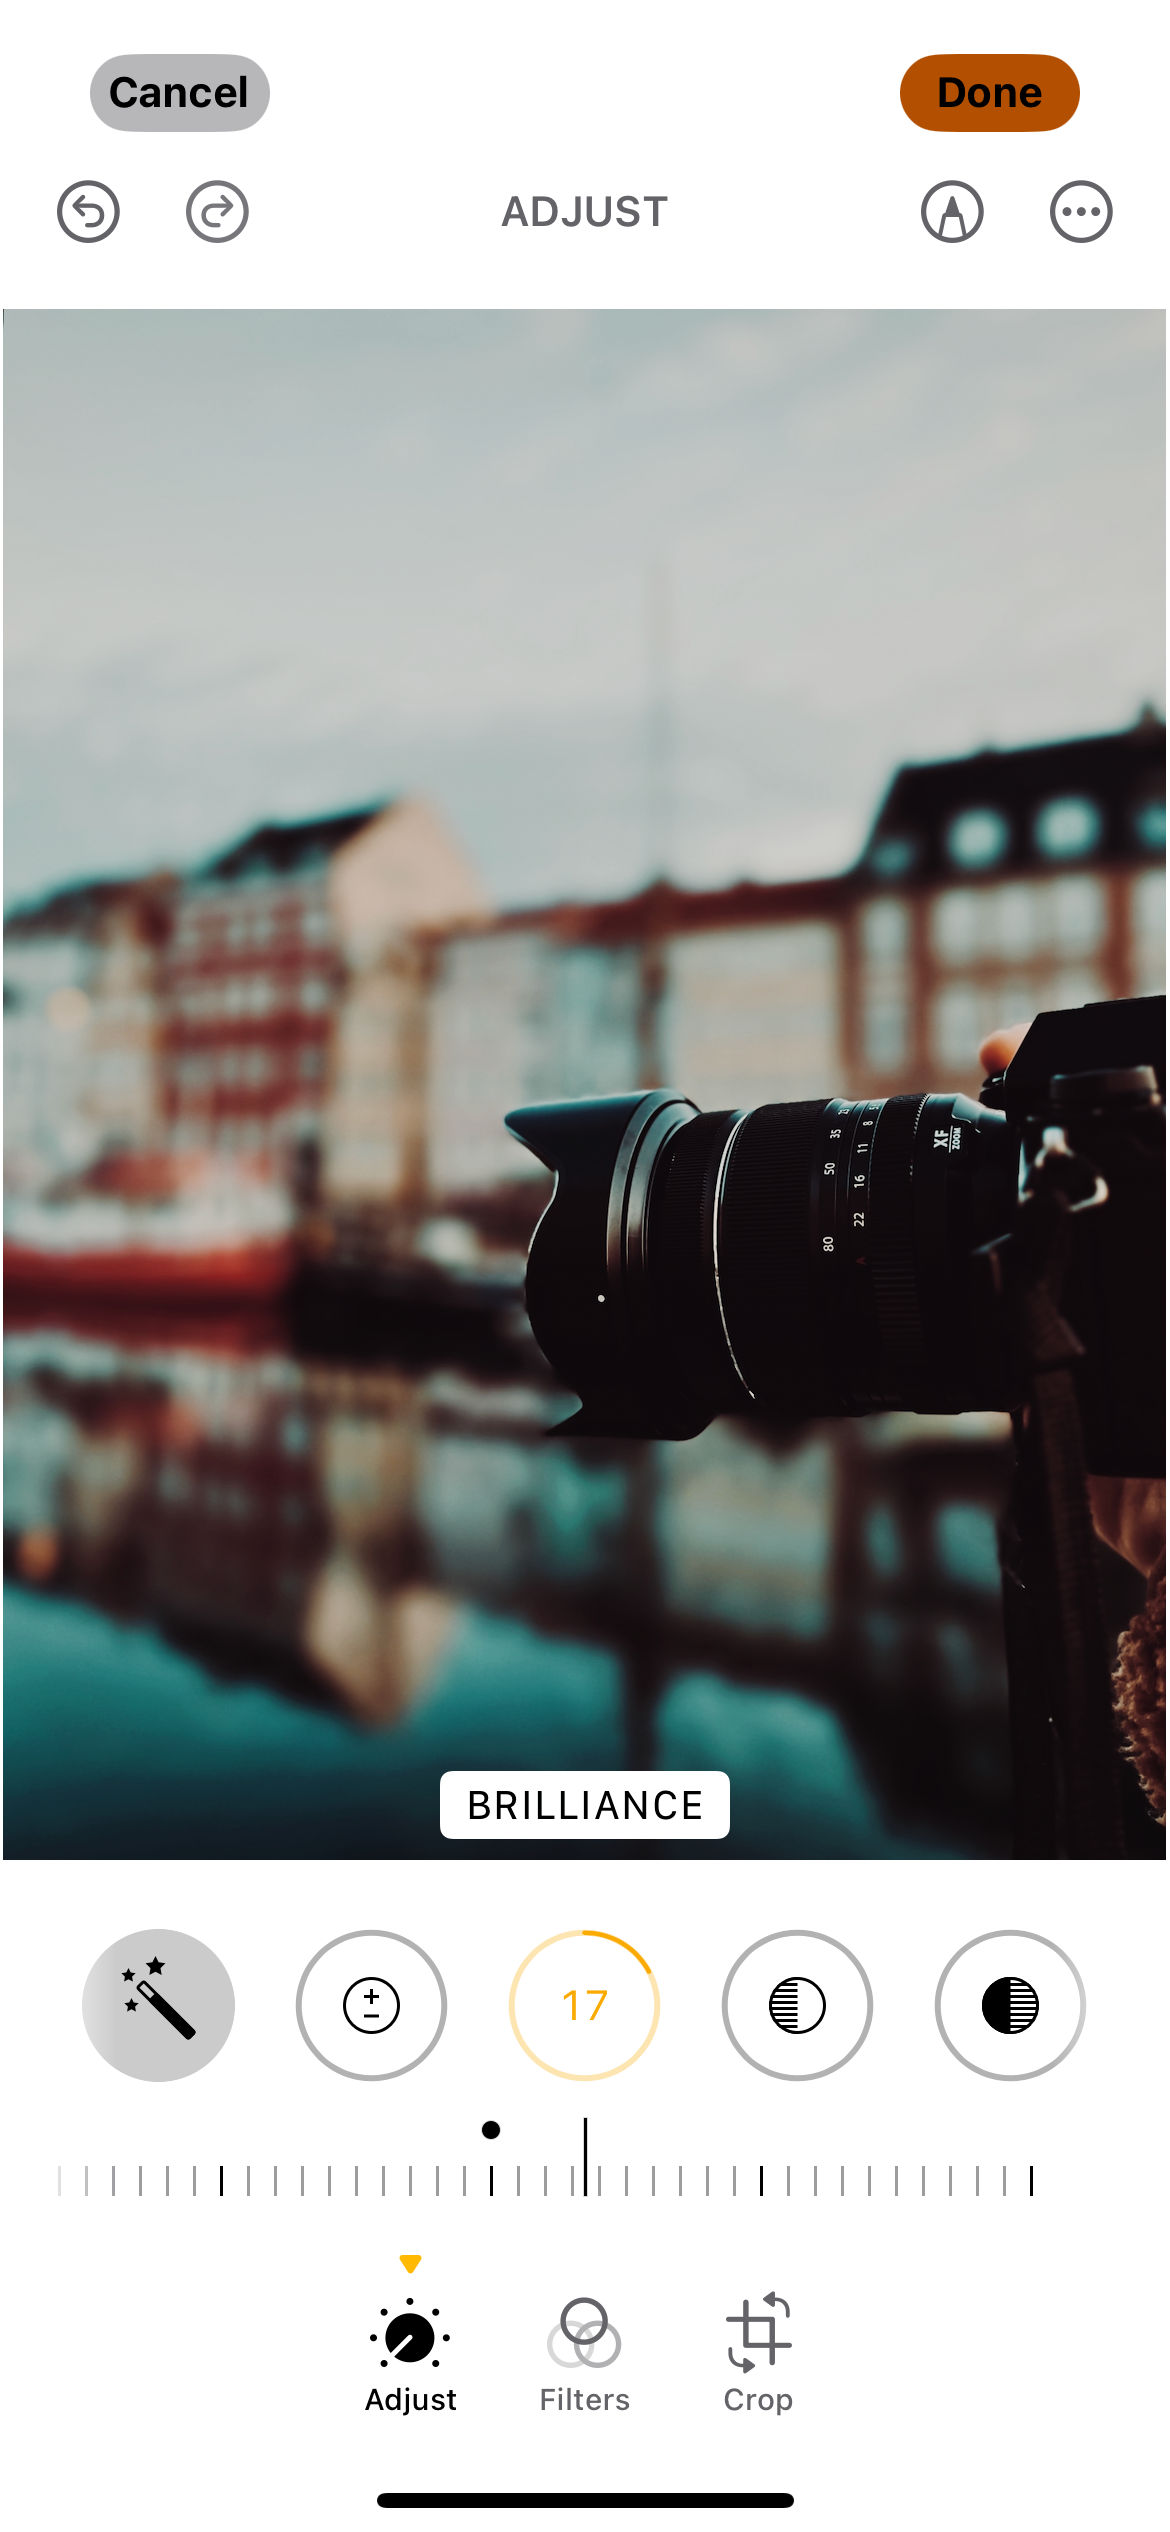
I would also recommend using Brilliance when your shadows aren’t how you want them to look.
8 Editing the Brightness
Brightness is another great tool that works alongside the exposure slider. You’ll find it in your smartphone editing app; I wish that Lightroom had this feature, but as of yet, my prayers have not been answered. Brightness will increase the overall light in your picture, whereas Exposure is better if you only want to increase a small part of the image.
Interestingly enough, I actually prefer moving the brightness down so that my image looks darker. That being said, increasing the brightness is ideal for taking photos on a rainy day.
9 Changing the Temperature
Changing the temperature in your photos is pretty beginner-friendly, and it’ll make a huge difference to the mood of your photos. I often make my images look warmer, especially when photographing around golden hour. It’s especially a good idea to do this if you’re capturing images to achieve a film-style look.
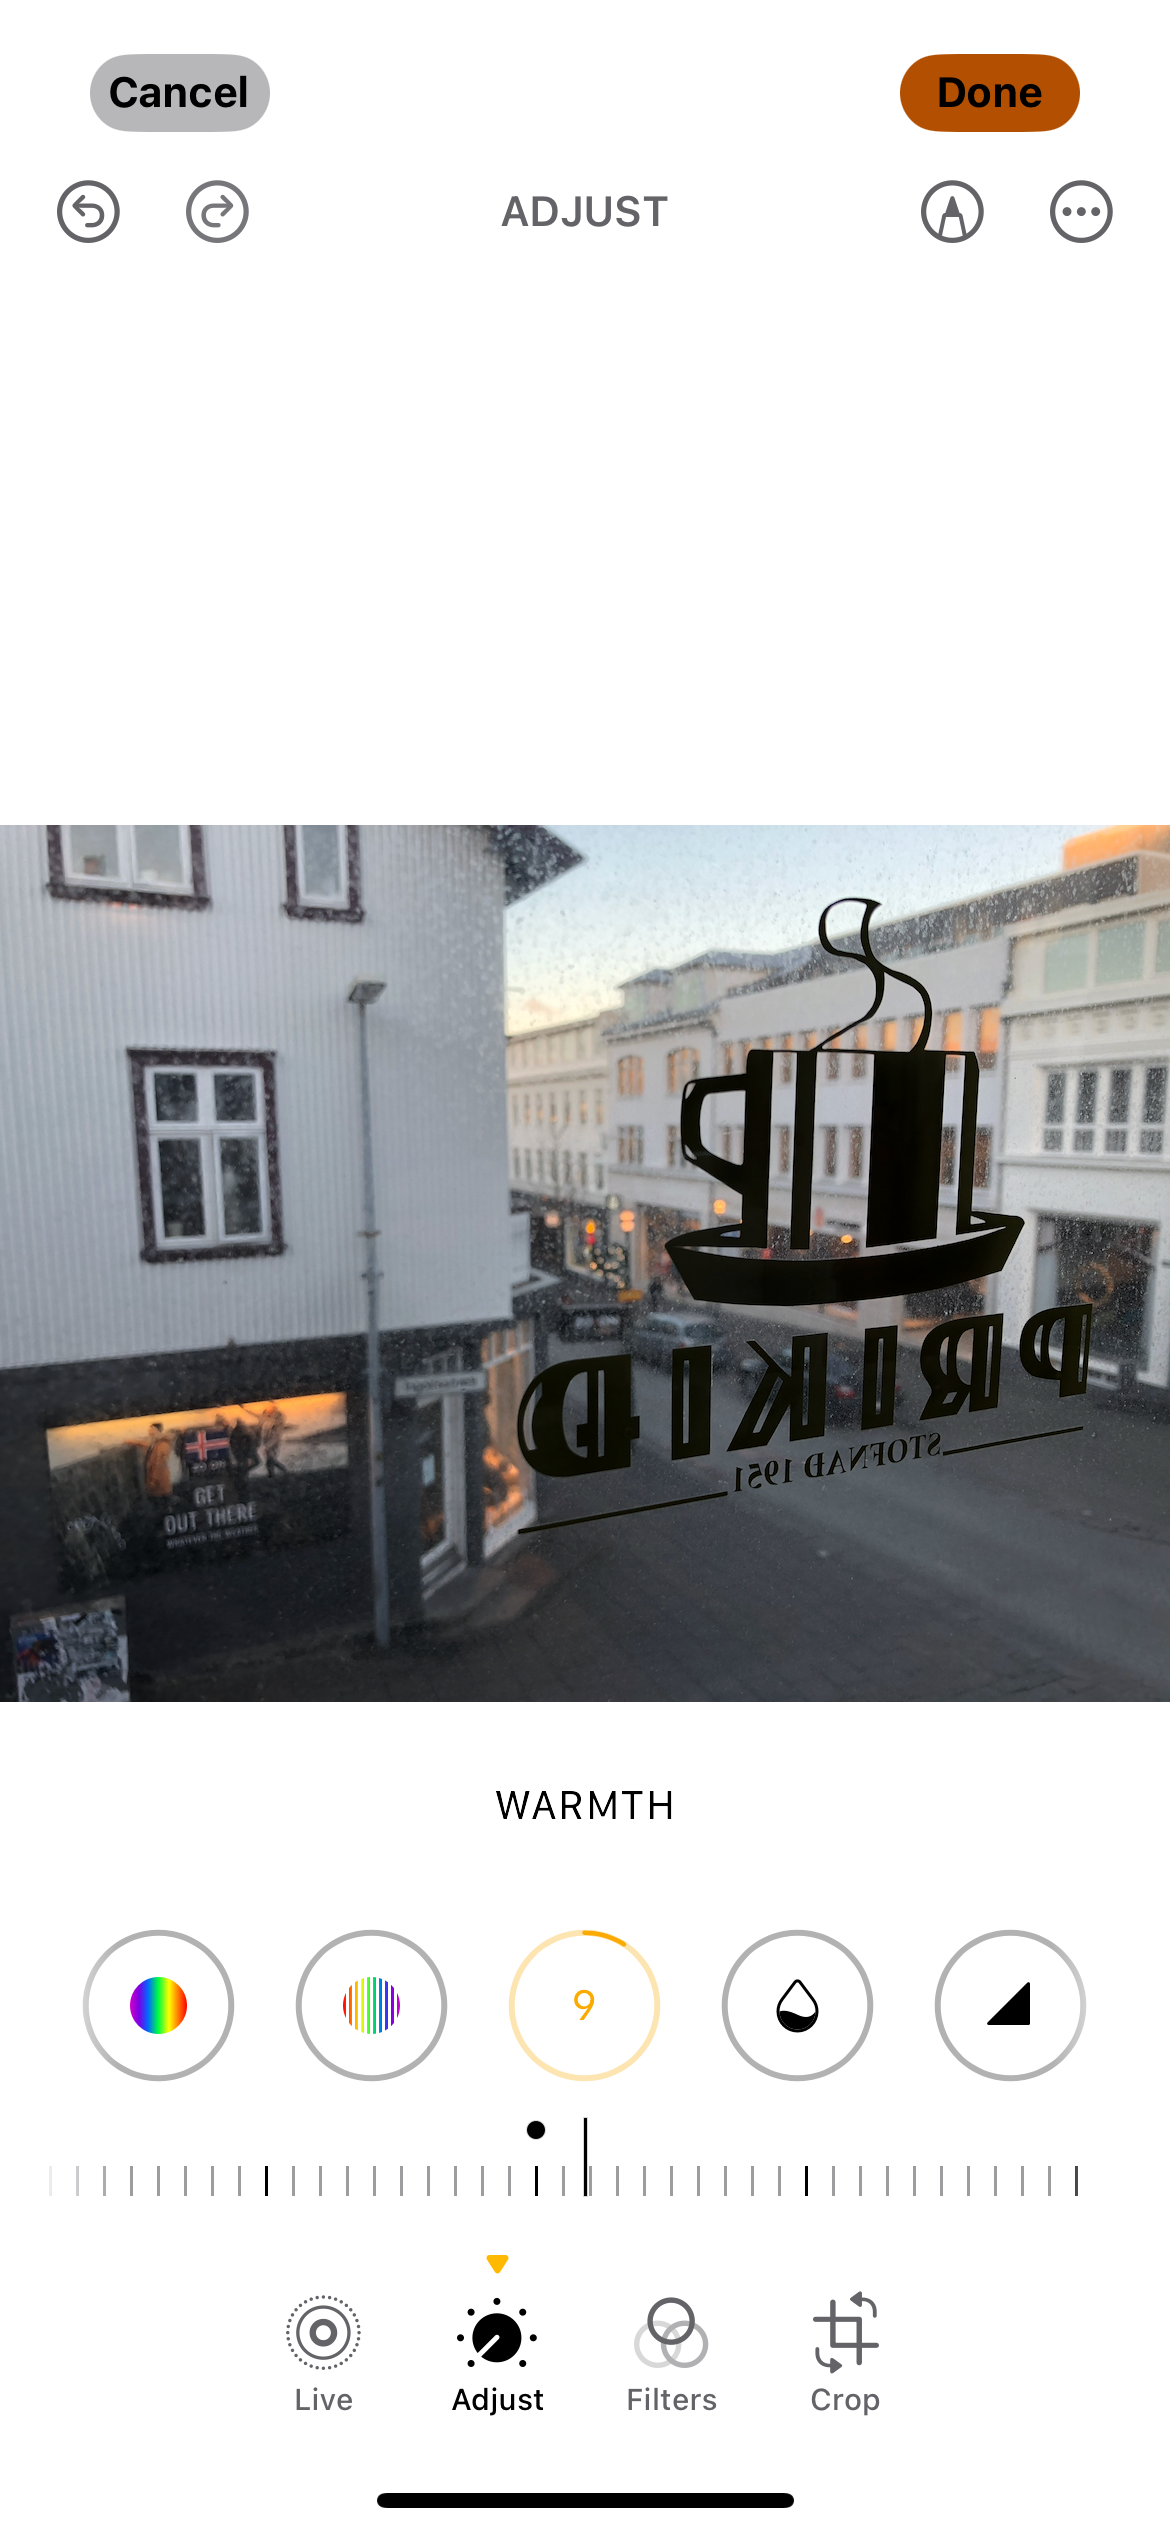
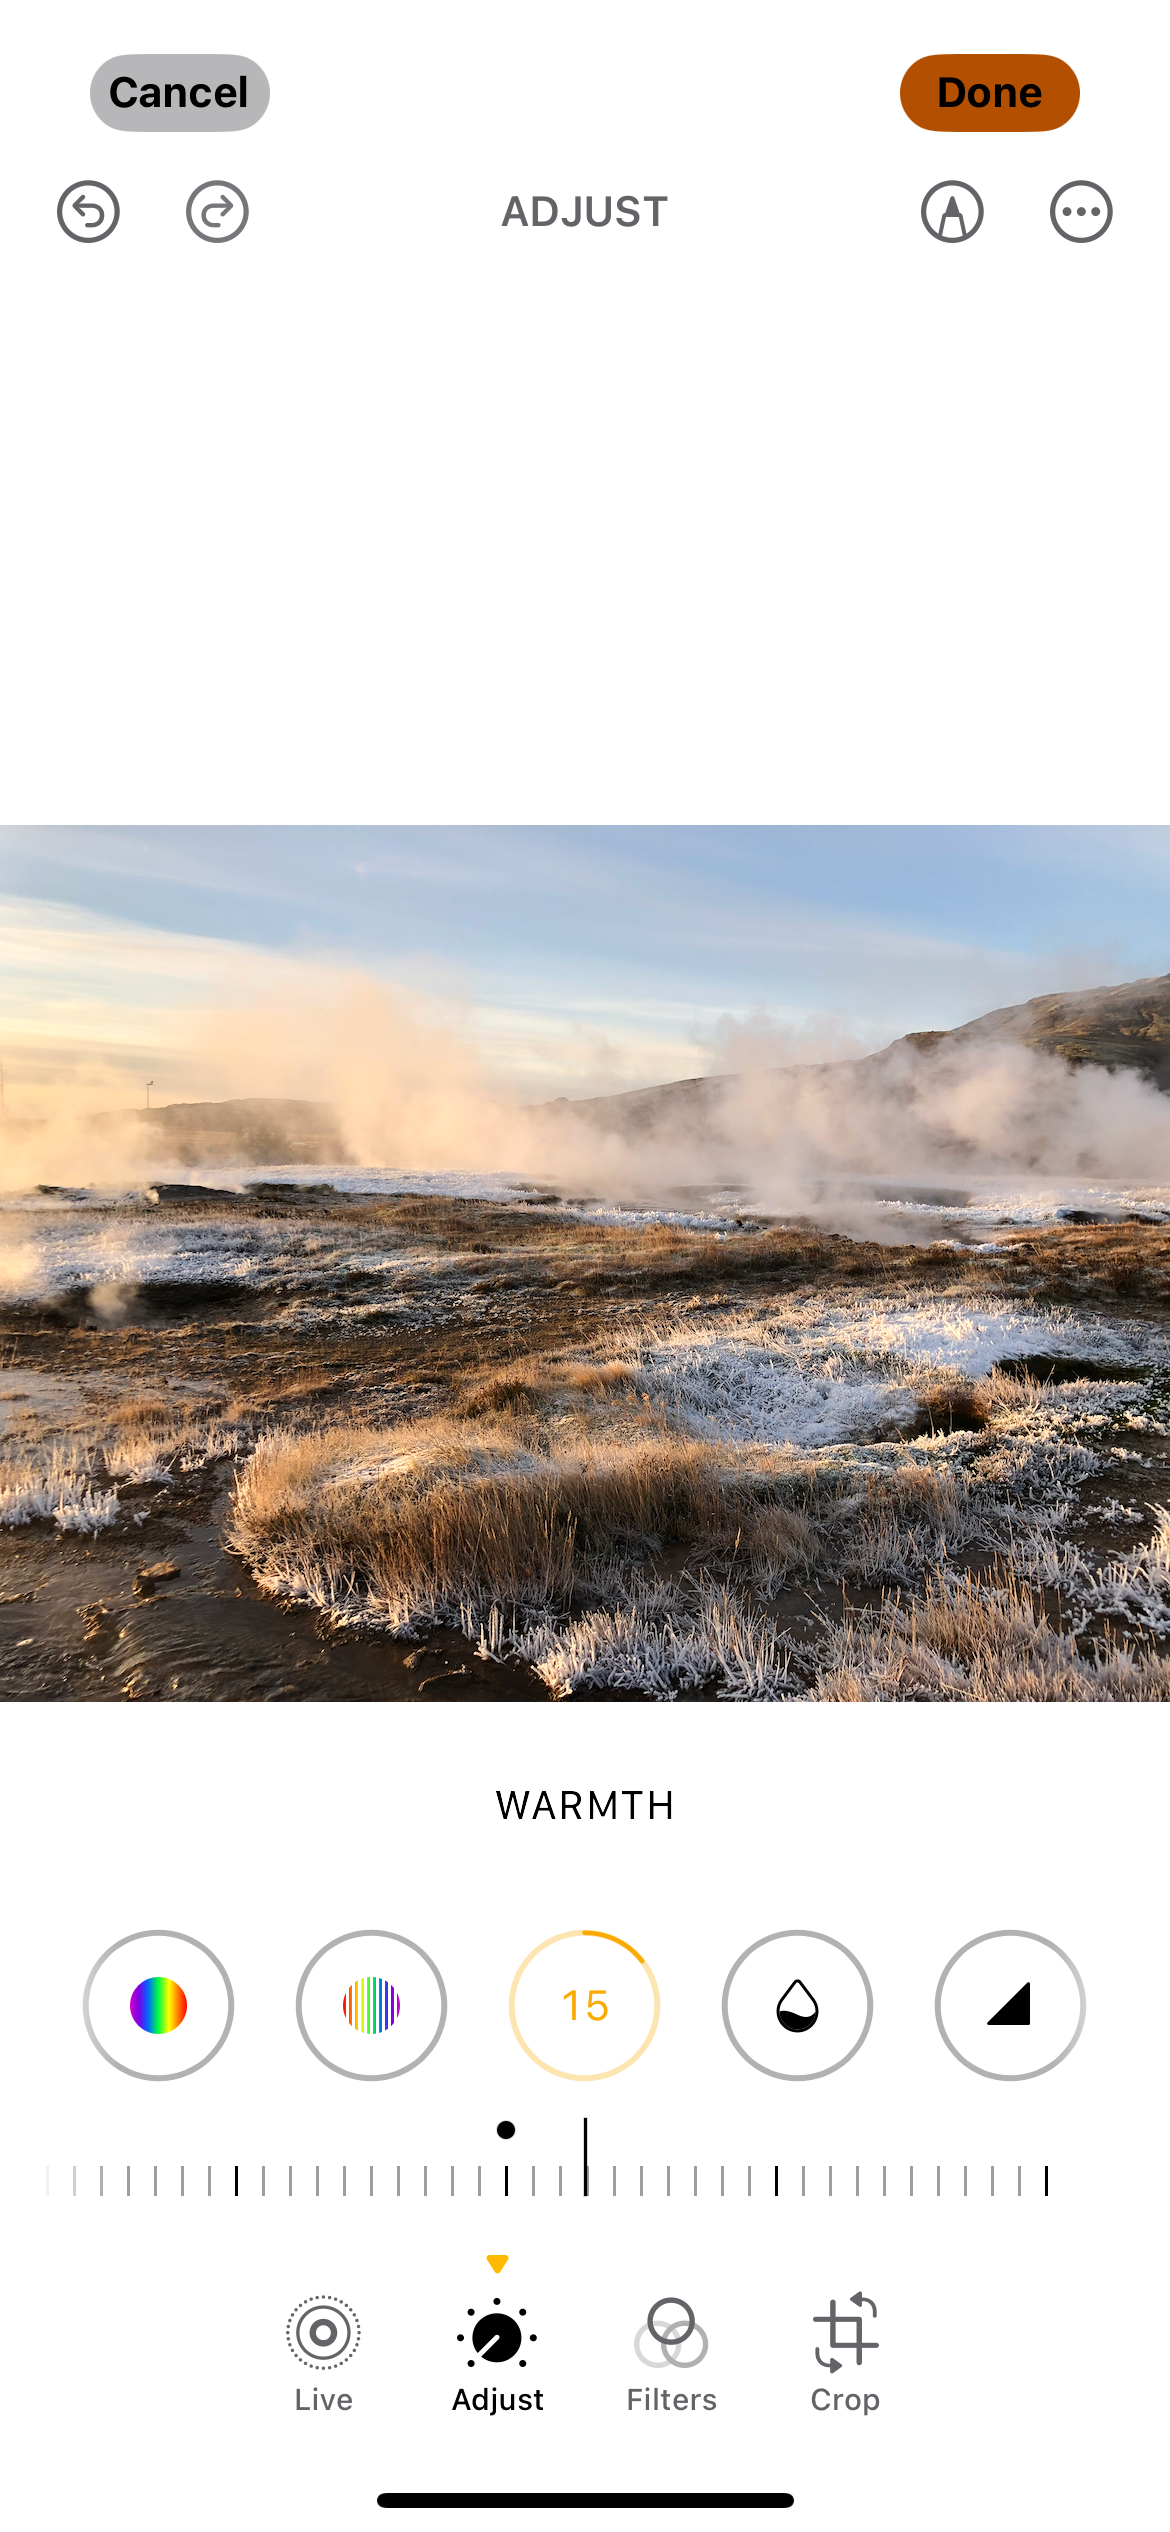
Making your picture cooler is a good idea for snowy day photography; I’ve found that snow often looks a bit too warm when taking smartphone photos. You’ll need to experiment here based on your own photo style and each situation. You can find temperature sliders in many apps; altering white balance will have the same effect.
You don’t need a DSLR to take DSLR-standard photos; editing is a powerful thing that can help you achieve a similar result. Sometimes, I even prefer the pictures taken on my smartphone compared to the same ones on a camera. Some editing tools will require a subscription, but many features are available for free.

