Key Takeaways
- Monoculars offer 8x magnification for long-distance shots, so you can avoid using digital zoom.
- Macro lenses enable close-up shots of tiny worlds, and they are affordable at around $5-10.
- Waterproof cases allow you to capture underwater photography at a low cost, offering value.
If you’ve wanted to do more with your phone’s camera, this list of awesome accessories will help you discover ways to take photos you probably didn’t know. Let’s explore how you can see more than what your eyes are capable of through your smartphone camera.
1 Monoculars Are Your Best Friend for Long Distance Images
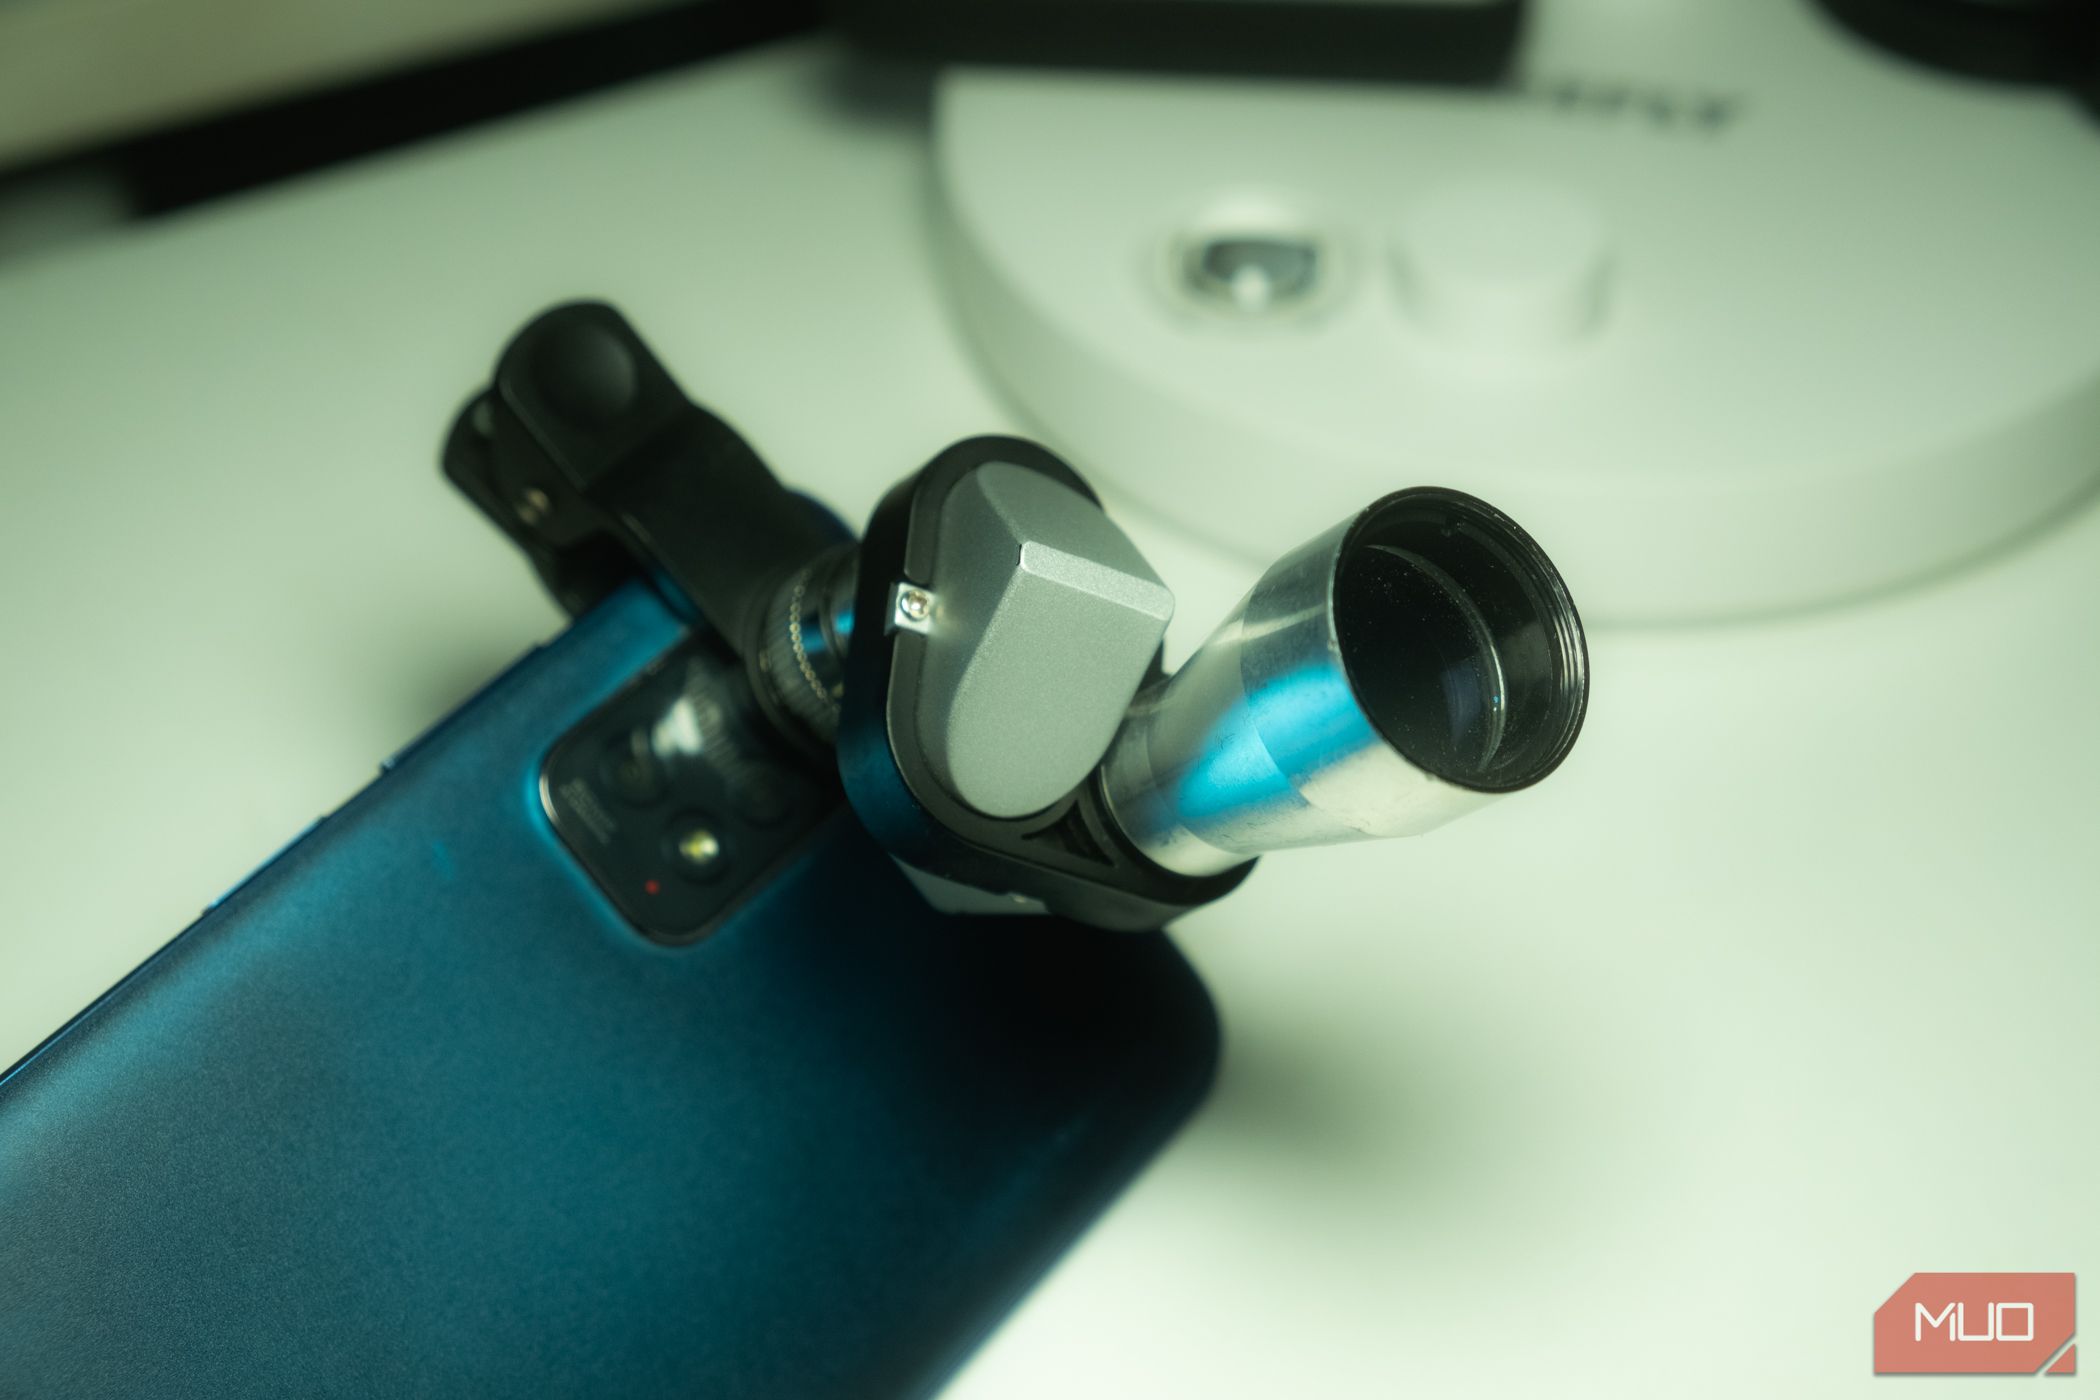
Tiny monoculars can be found for cheap on Amazon and they’re often bundled with a phone holder. I purchased mine a few months ago to accompany my binoculars when I go bird watching. I don’t have to fumble around with putting my phone up to my binoculars and the bird is suddenly gone.
This cheap monocular offers 8x magnification, allowing you to take pictures of faraway objects without resorting to digital zoom and lowering the image quality. The Samsung S24 Ultra may have a 5x optical zoom, but that comes at a high cost, and you may not even want the S24 Ultra. A monocular attachment allows you an even higher magnification without needing to buy a whole dedicated phone just for telephoto images.
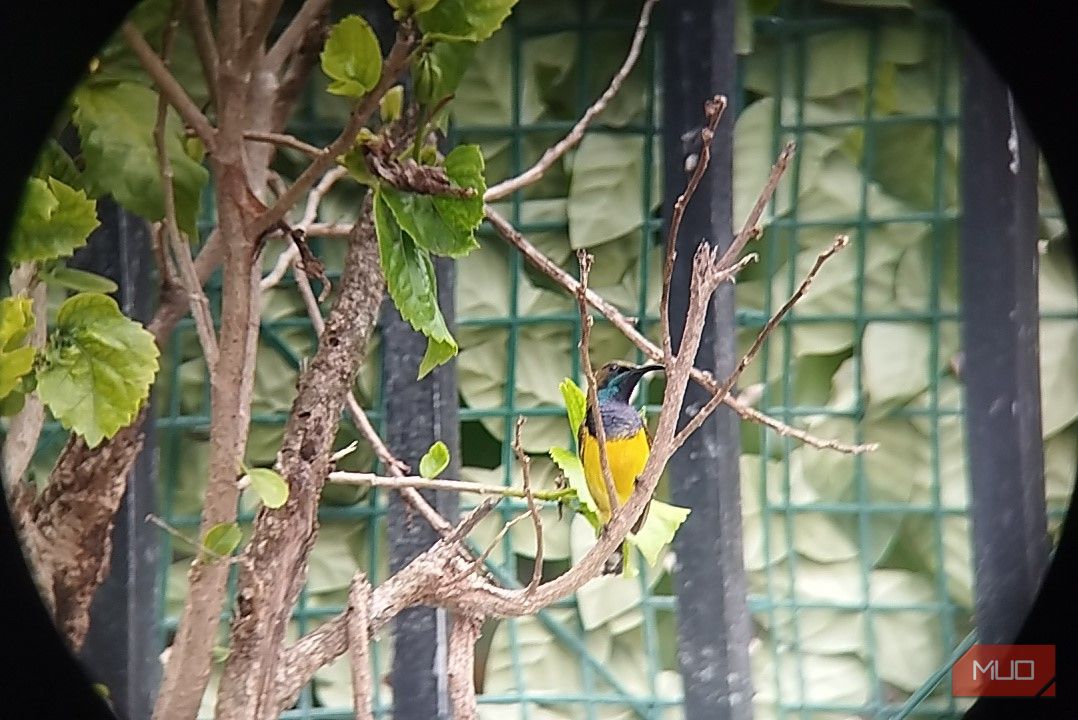
I highly suggest using these in lots of daylight since the objective lenses are usually small and don’t let in a lot of light. I took this image of an Olive-backed Sunbird from quite a distance to avoid scaring it away, and it’s my favorite way to enjoy the birds without disturbing them.
2 Get Up Close With Macro Lenses for Your Phone
We talked about getting closer to faraway objects with a monocular lens, but a tiny world right where you can touch is hard to appreciate with the naked eye without a macro lens.
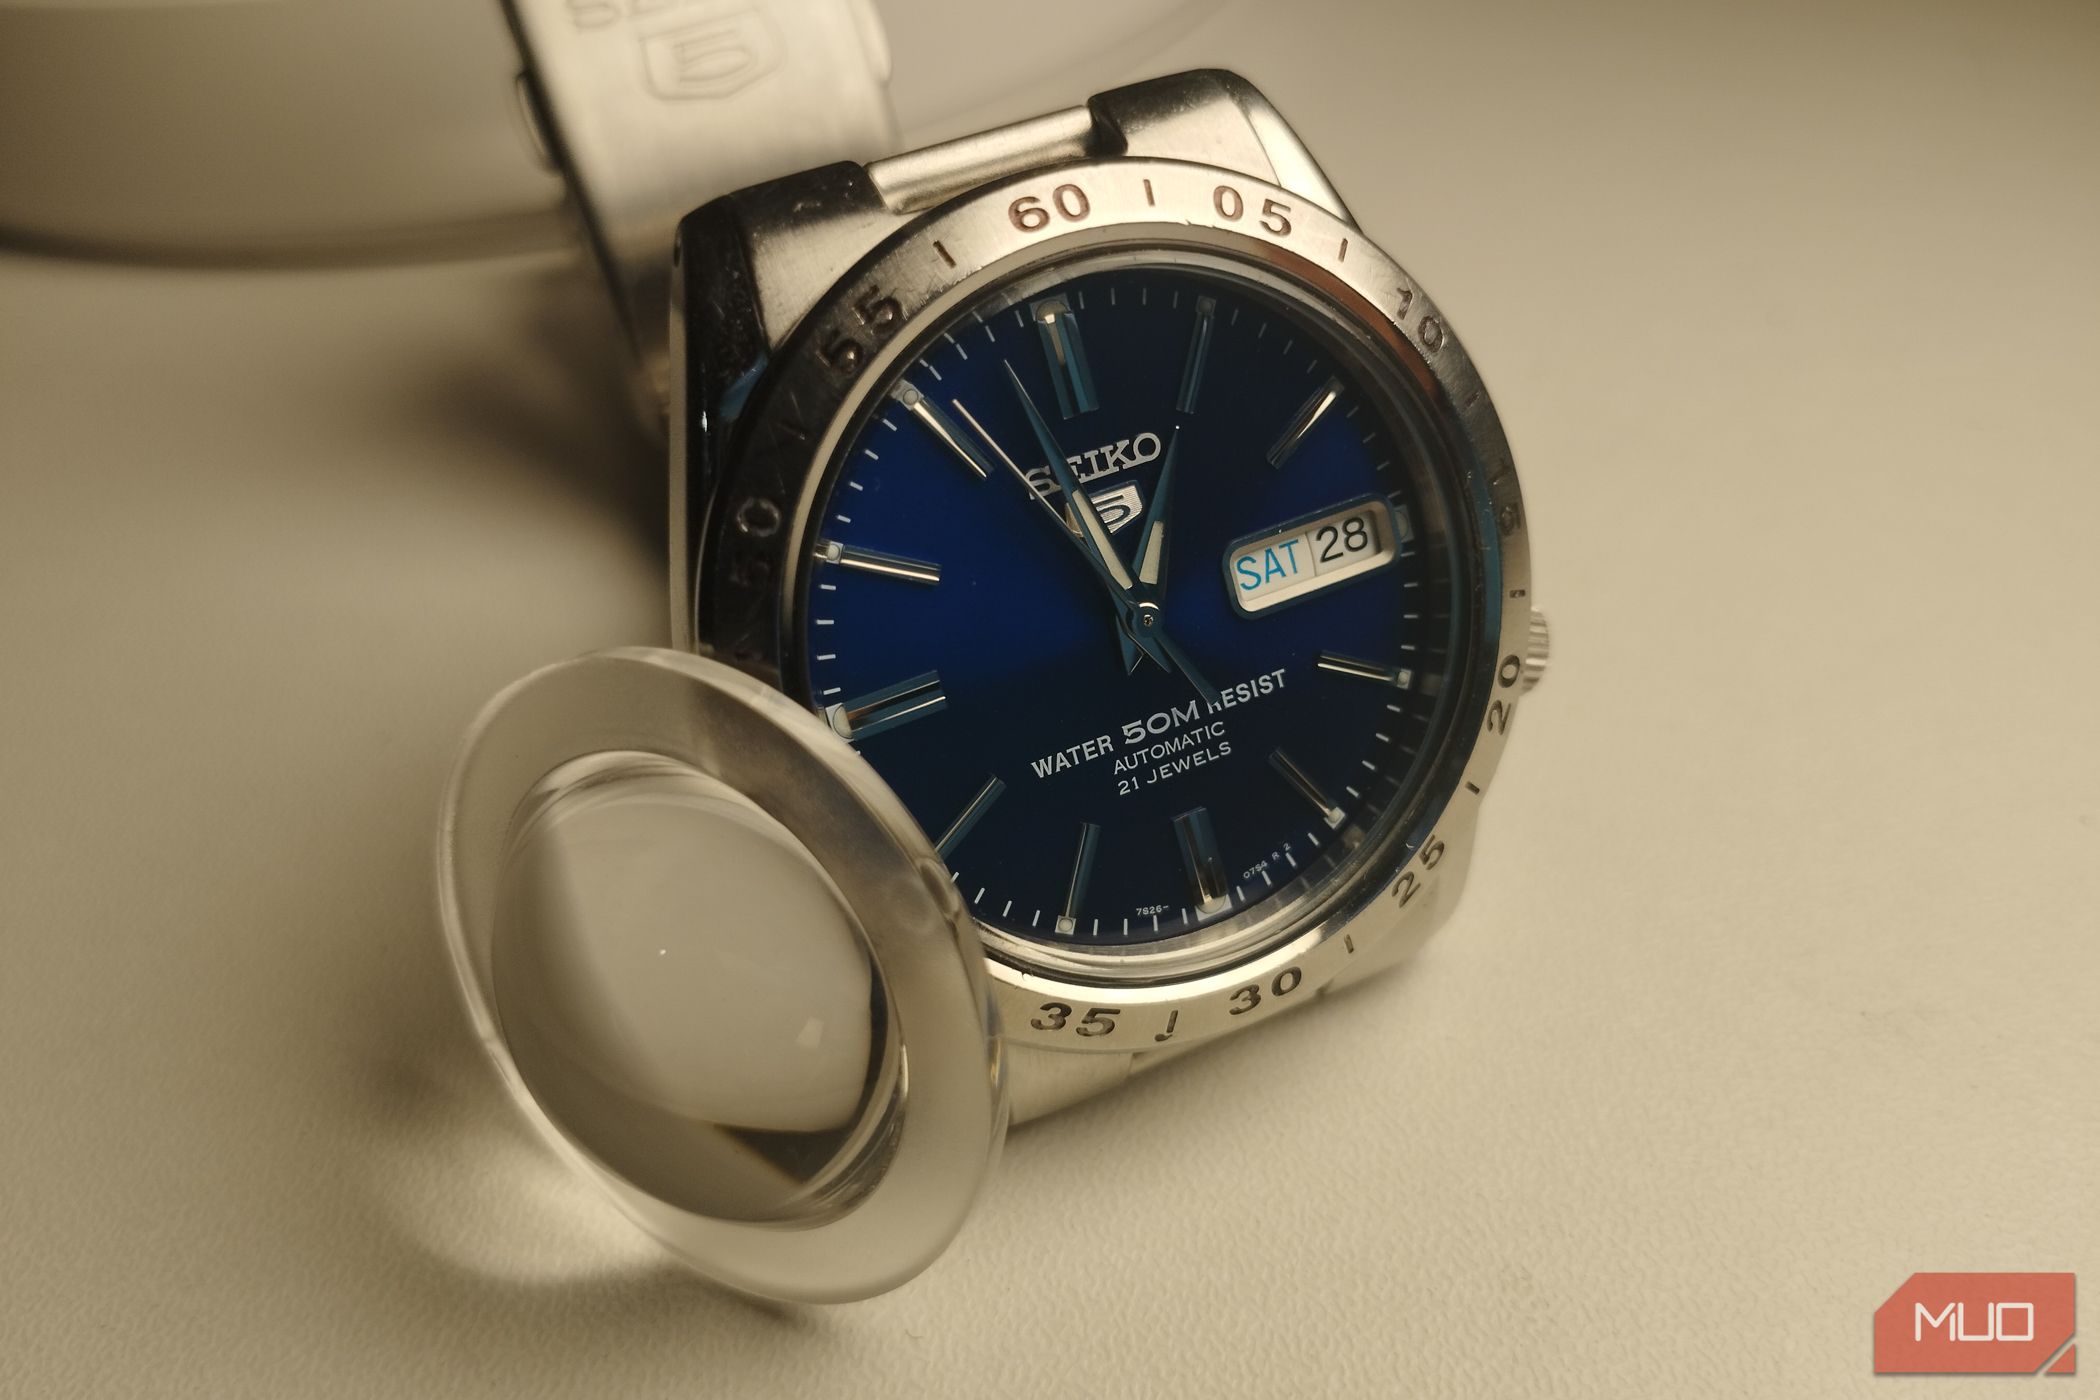
Macro lenses allow you to get the lens up close to an object compared to a monocular lens that has a distant minimum focal distance. Your phone’s camera with a macro lens is a great way to get started in macro photography. I actually didn’t even use a macro lens for a phone. I took apart a flashlight with a focusing lens and used the focusing lens as the macro lens.
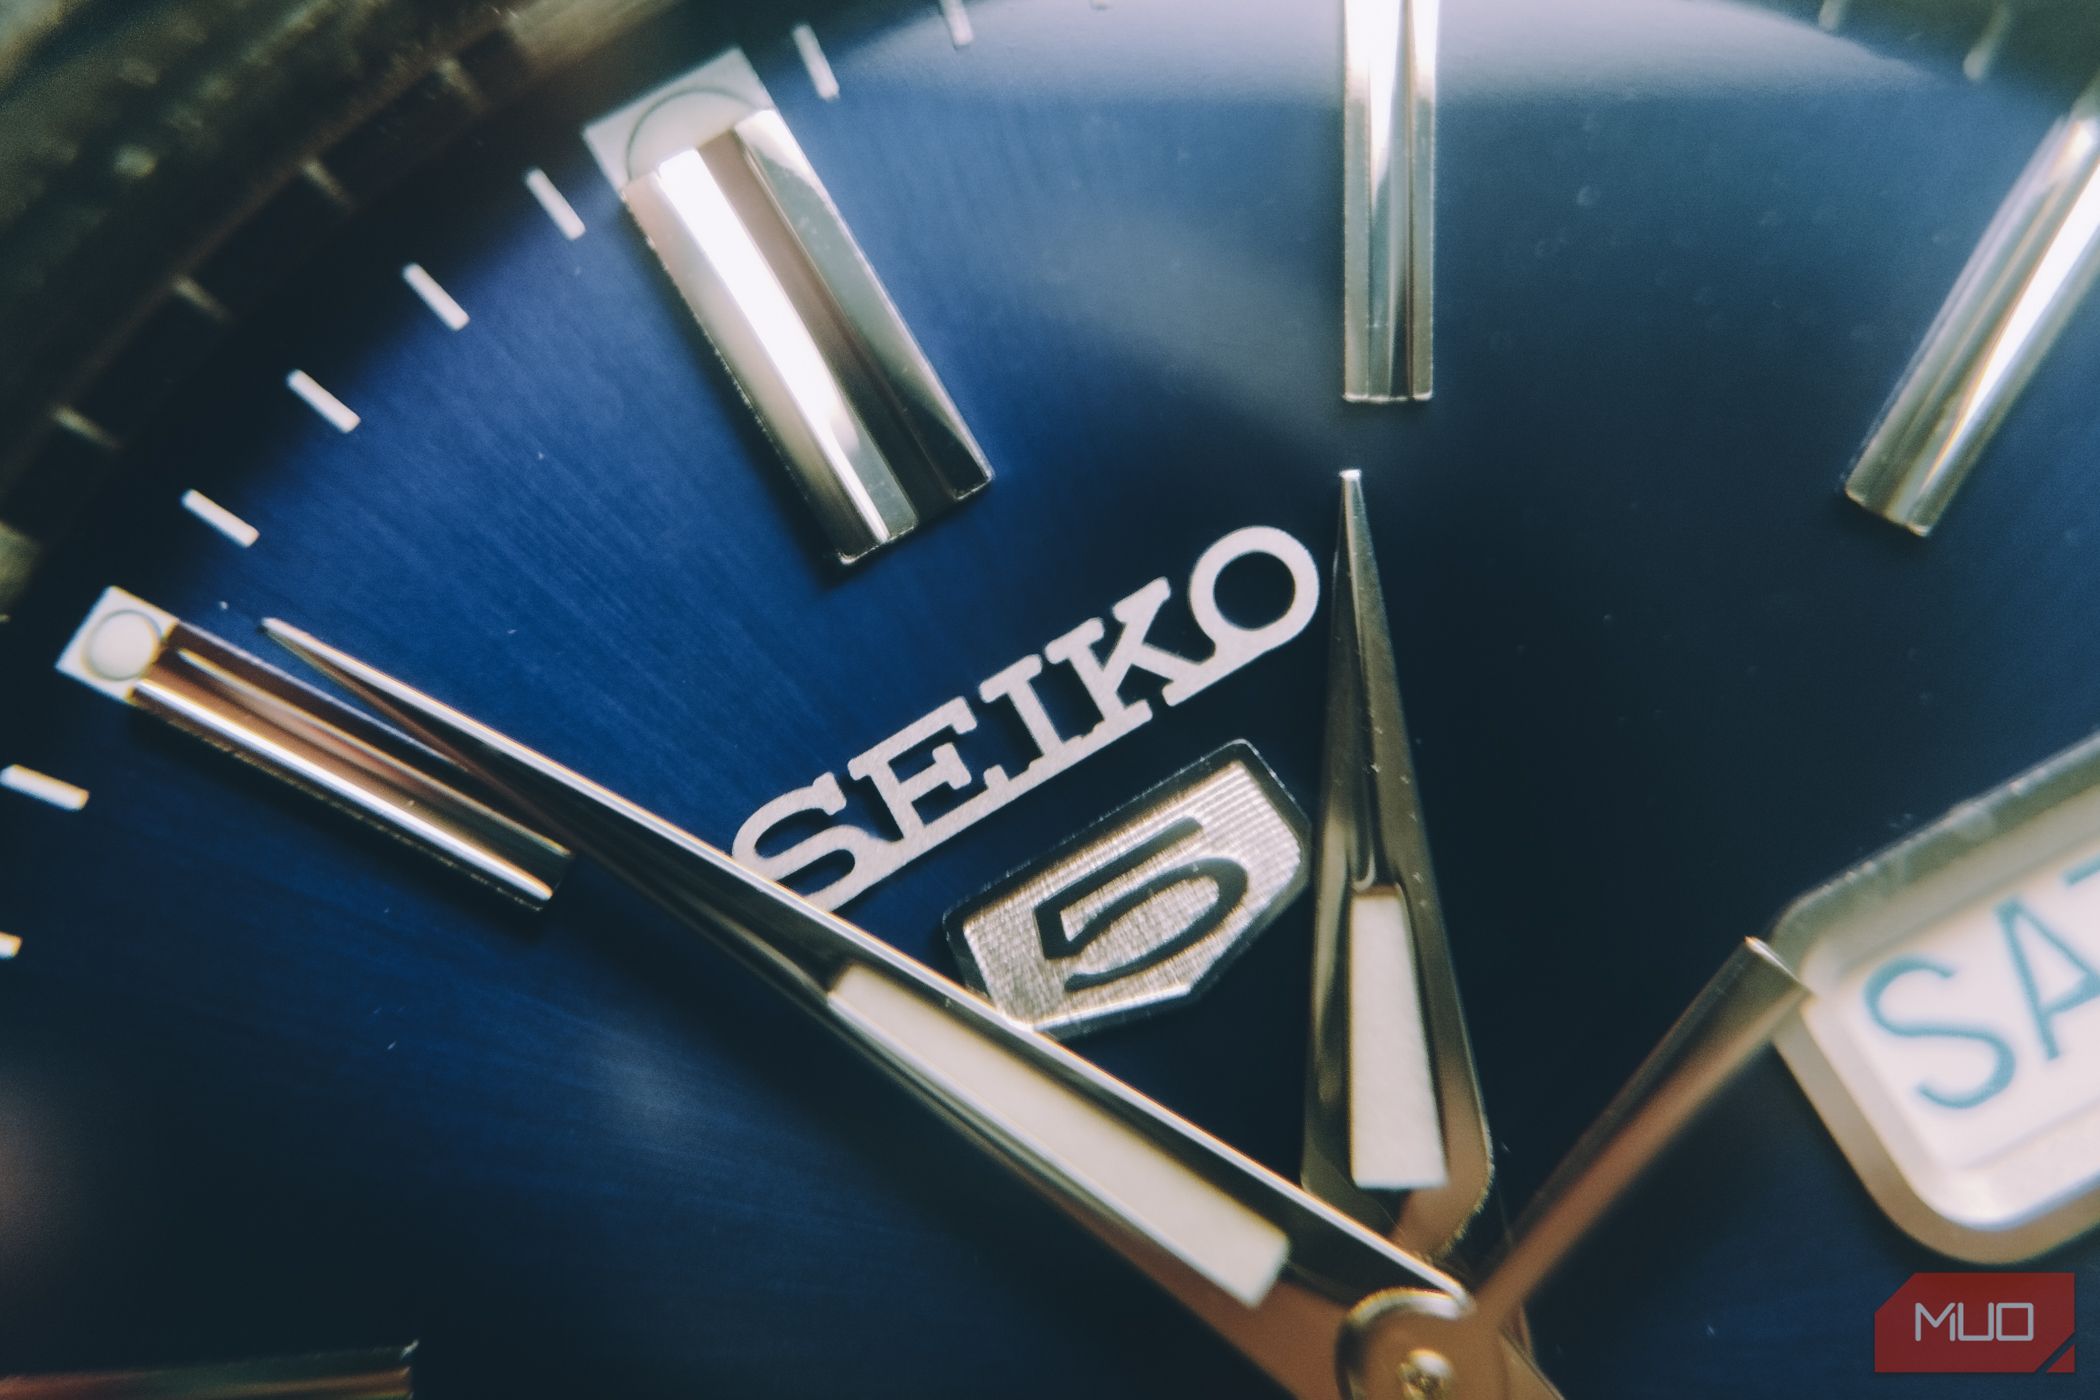
A dedicated macro lens will be much easier to use than a loose piece of lens you have to position by hand. These macro lenses usually cost about $5-10, but there are higher quality ones that are longer with higher magnification. The image above is a macro image of my favorite watch taken with the humble lens in the first image.
3 Affordable Underwater Photography With a Waterproof Case
Underwater photography equipment is quite expensive, the waterproof housings for full-sized cameras alone cost as much as a camera. However, you can still take awesome underwater photos with a waterproof case.
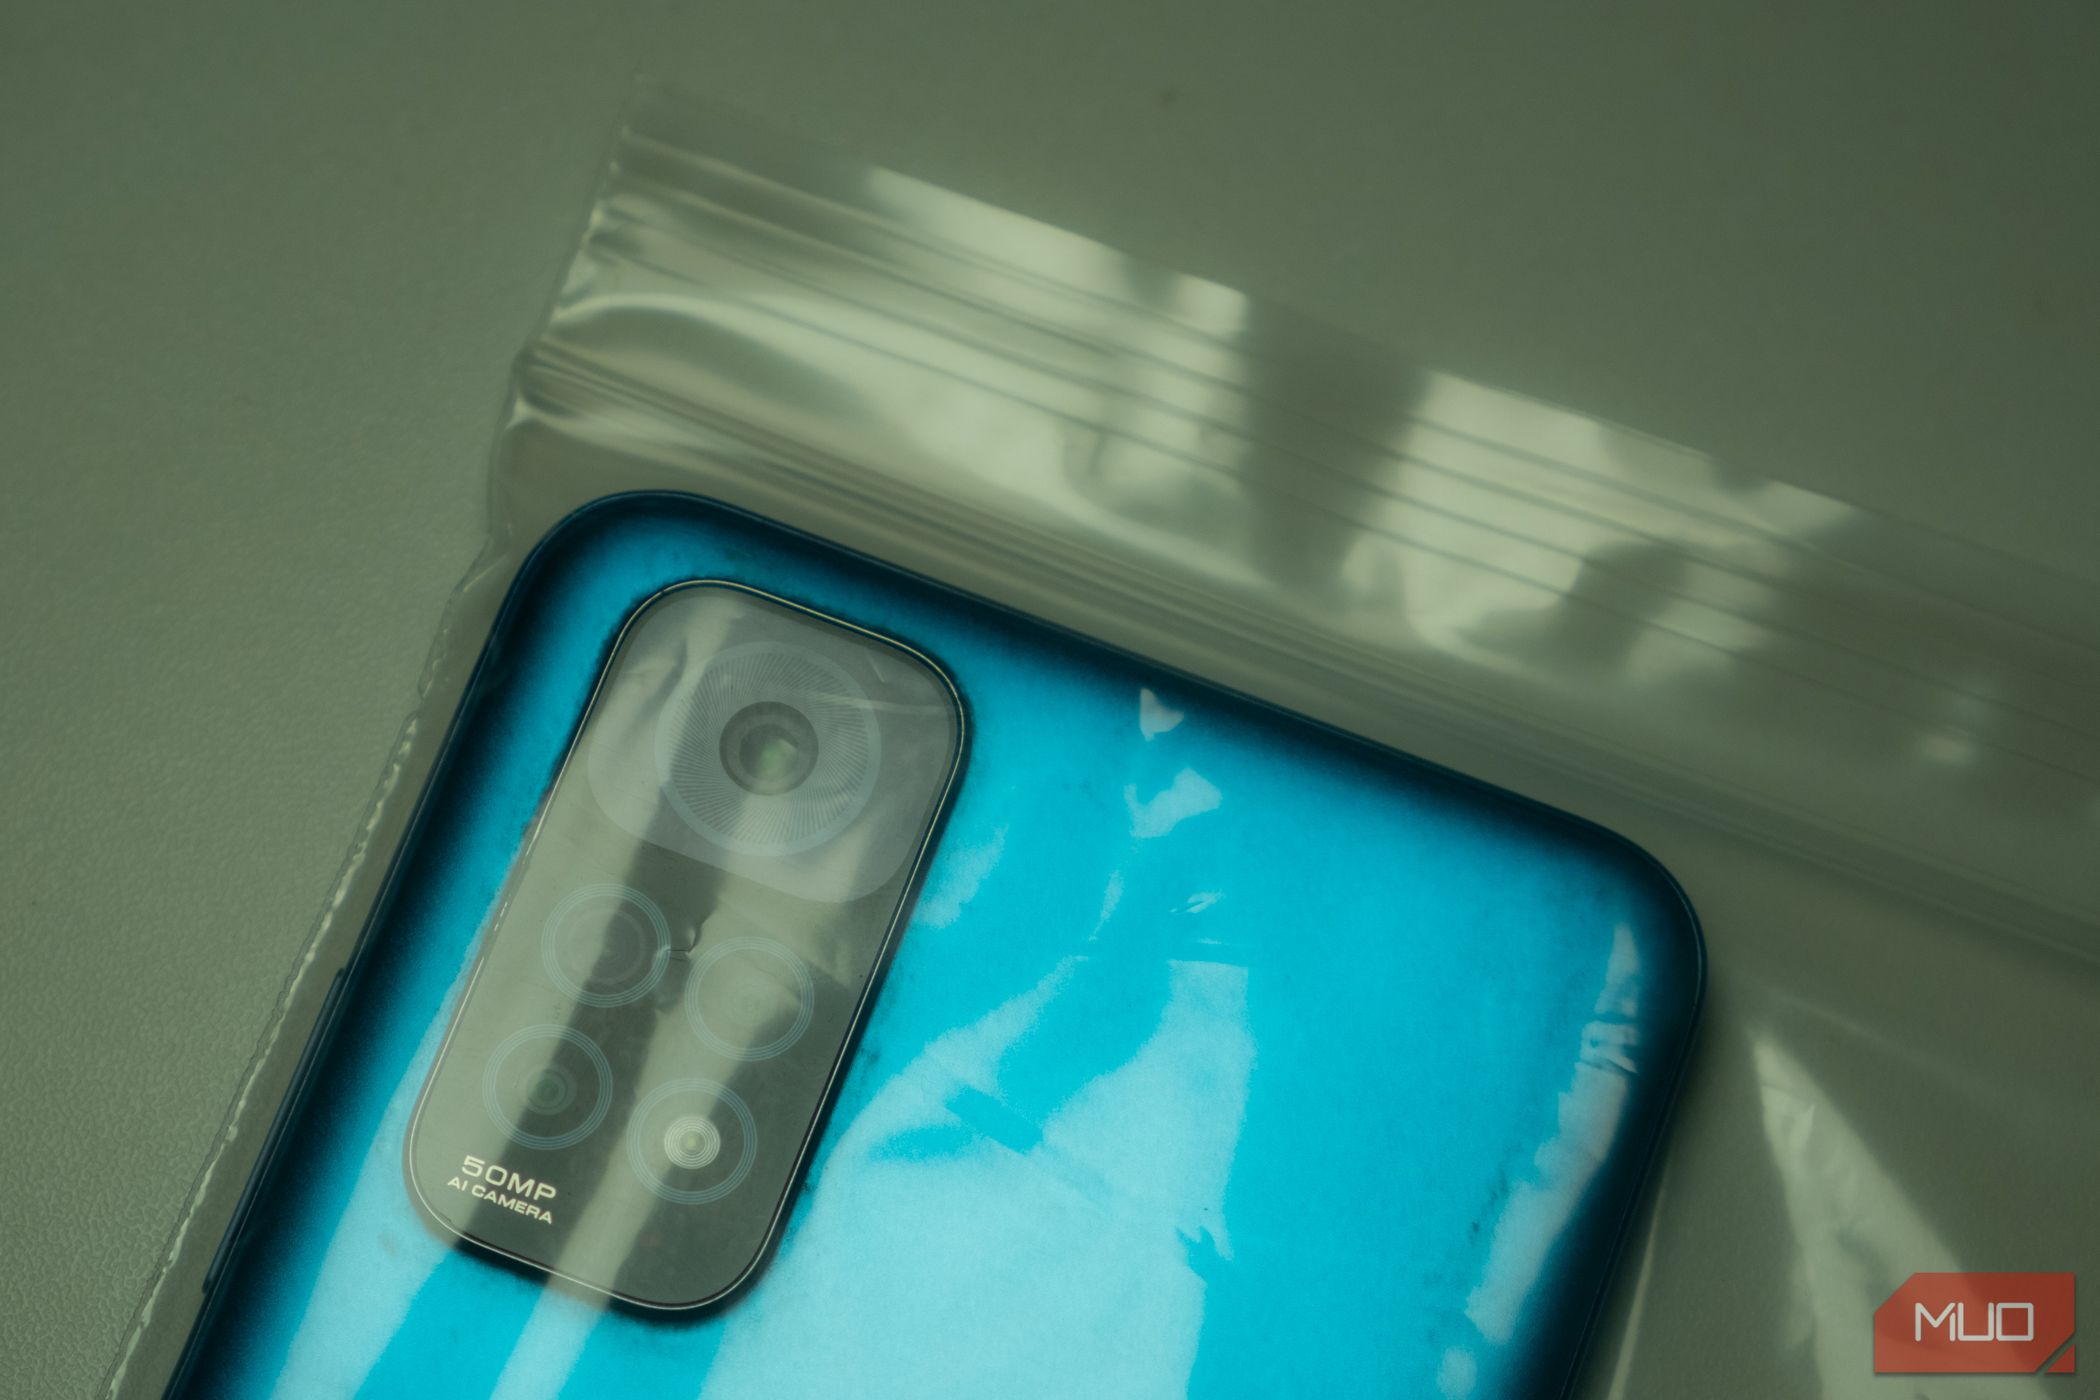
On our trip to the island of Bohol, we went to see whale sharks and the waterproof cases we bought were simply made of plastic. Like a plastic zip bag with a strap that goes around your neck so you don’t lose it. You could possibly even fashion your own with a zip bag at home, but I wouldn’t let a quick DIY solution be responsible for my phone in the middle of the ocean.
It provided us with plenty of value for such a cheap accessory. You could take closeup photos of the fish and sealife, your children in the pool, or even underwater product photos. You don’t even necessarily have to go underwater. So long as you have a waterproof case and it’s strapped to your neck, you don’t have to worry that you’ll destroy your phone while enjoying the waters.
4 Infrared Filters Let You See the World in a Different Light
Infrared photography is one of the most unique and underrated ways to take photos. It used to be more popular back in the film photography days when infrared film was easy to get your hands on.
Nowadays, you’d need to physically hack a camera and remove the infrared filter in order for your camera to see infrared. However, the infrared filter on your phone doesn’t actually block all infrared light. If you take a TV remote control and point it directly at your phone’s camera, you will most likely see a flashing purple light; that’s infrared light being captured.
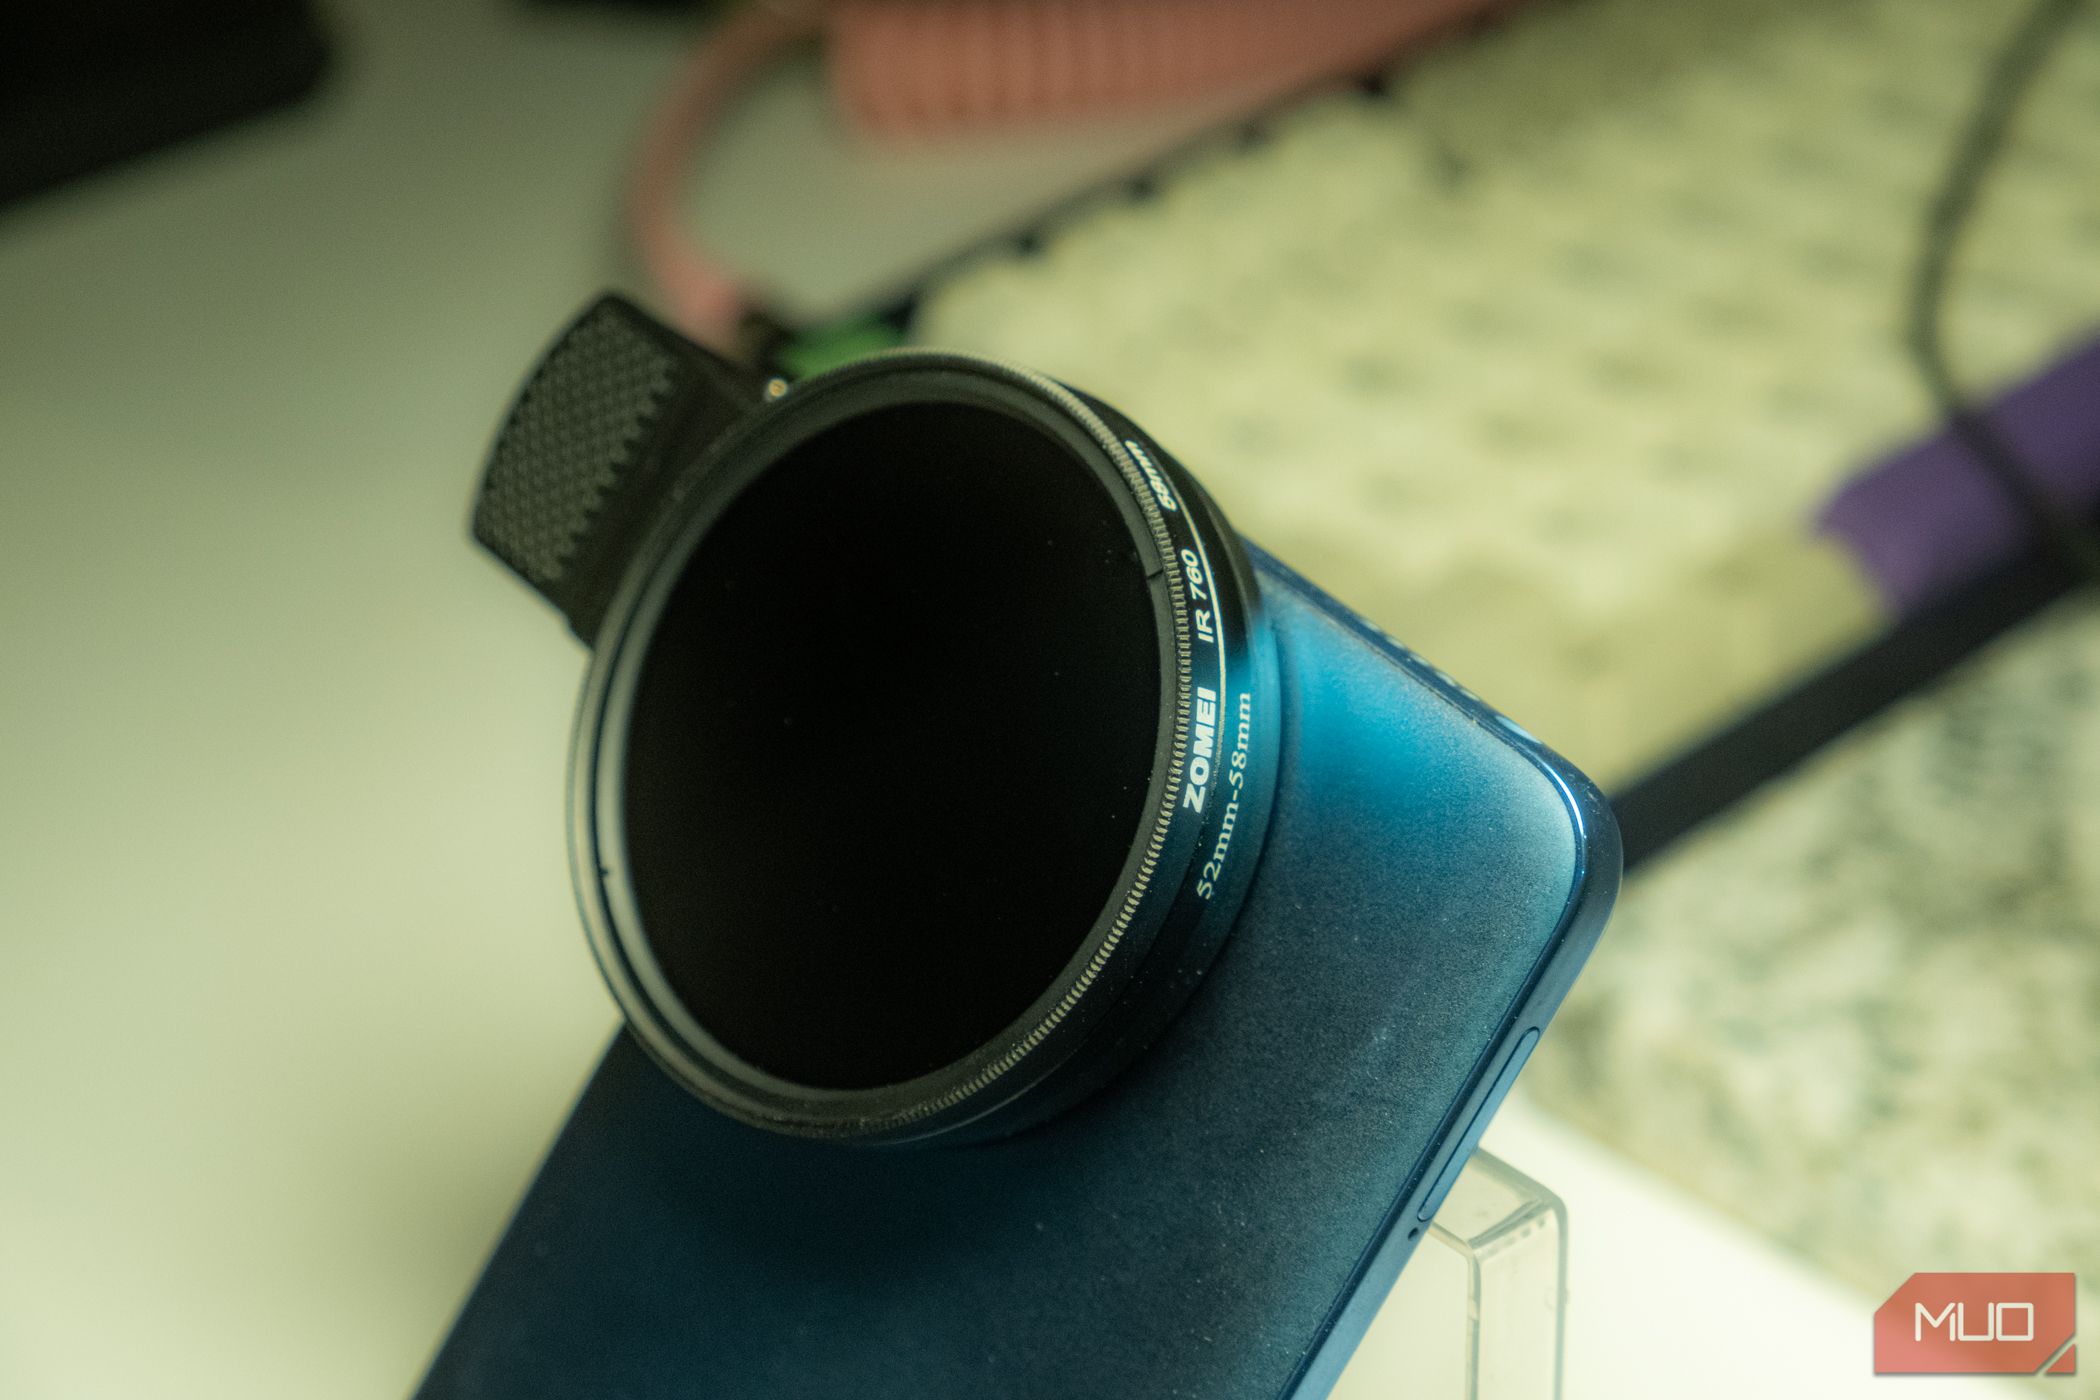
In order to take infrared photos, you’ll need a filter that blocks out visible light, funnily enough. Your camera will then only see the small spectrum of infrared light in between what the infrared filter can’t block out and what the infrared filter lets through. I chose a 760nm infrared filter that blocks any light shorter than 760nm in wavelength.
The most effective way to take infrared photos with your phone is to do it in daylight with a tripod. The sun provides a lot of infrared light, so you won’t need to do long exposures and use pro mode.
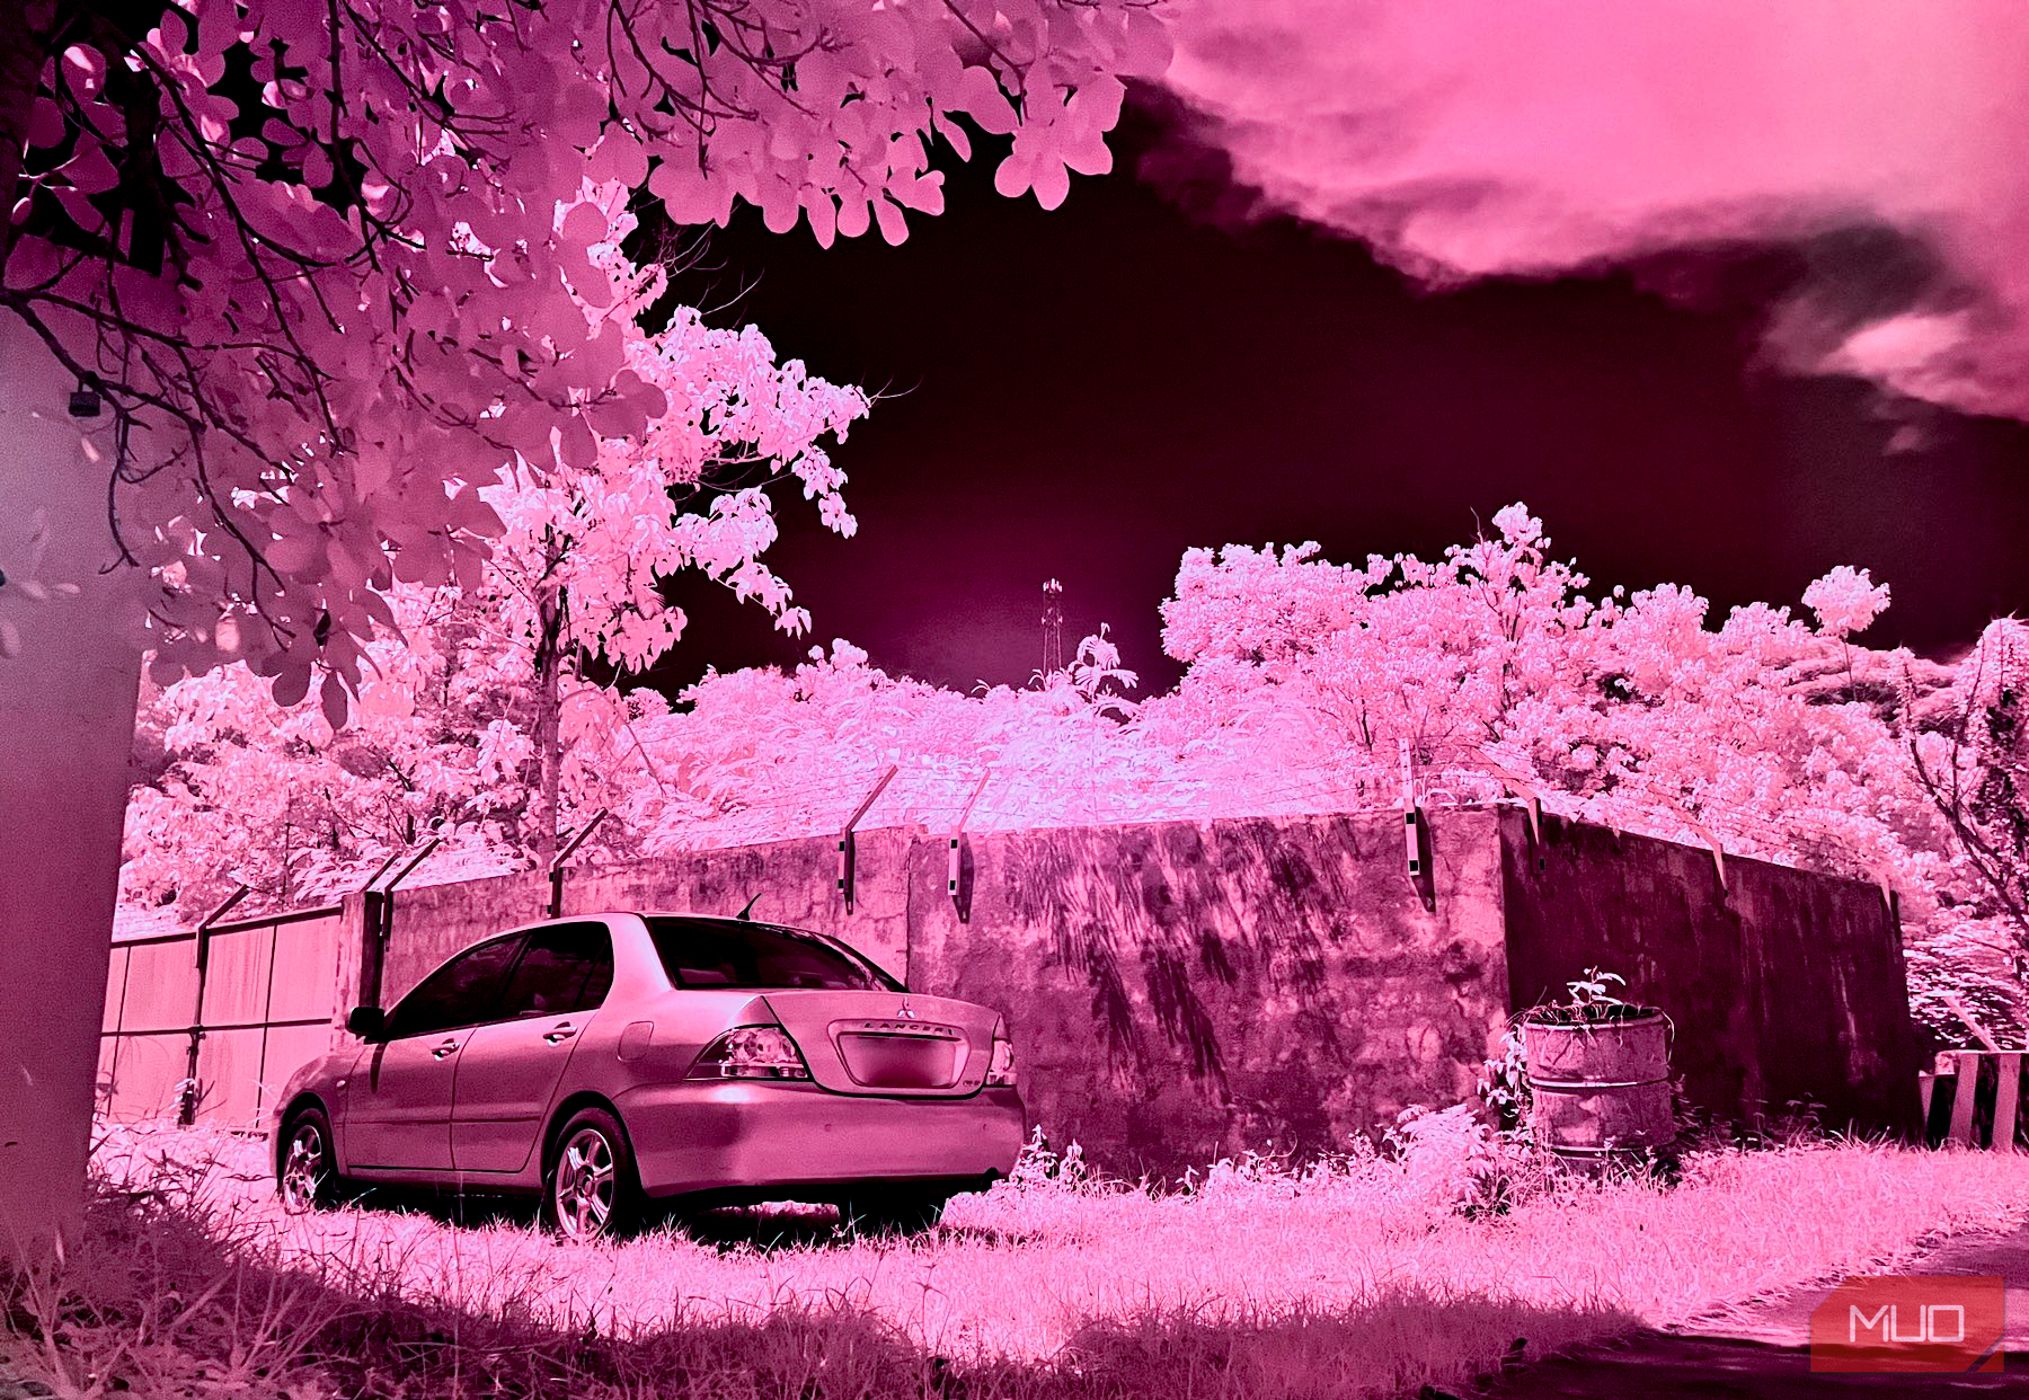
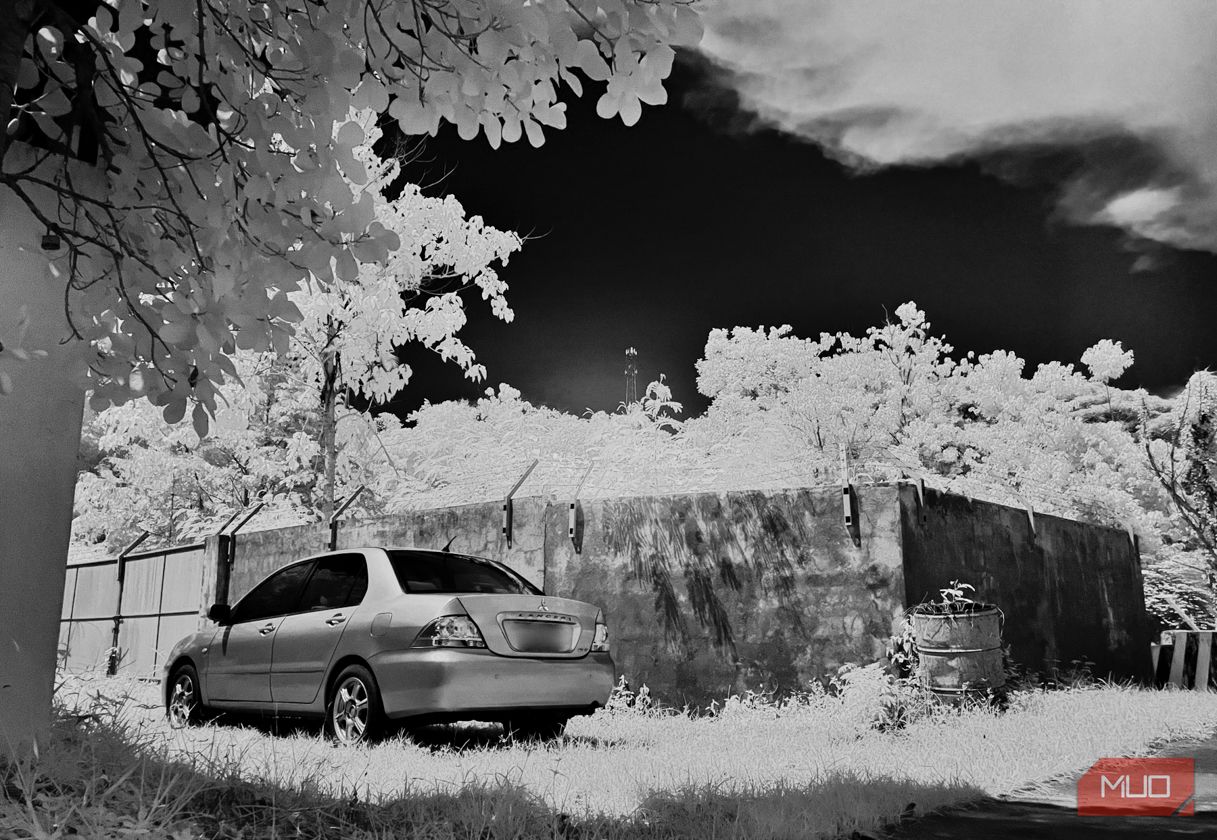
I took the above photos using an iPhone 13 mini, and it didn’t even trigger the long exposure mode. The first photo was way too magenta, but the one right above has been turned monochrome to highlight how the trees glow in infrared and how the skies can look dark, yet everything becomes bright.
These accessories can either be bought for cheap or DIYed. They’ve allowed me to explore photography I didn’t even know my phone was capable of. These accessories provide so much value and can extend the capabilities of your phone’s camera, basically giving it superpowers. So if you’re looking for affordable and easy ways to expand your smartphone photography, give them a go.

