Key Takeaways
- Digitize your analog music to play it on digital devices, protect it from damage, and preserve out-of-print recordings.
- You’ll need an analog-to-digital converter and music production software to digitize your analog music.
- Clean your records/tapeheads and check your levels before recording, and trim your files to tidy their start and end points afterward.
- When digitizing your collection, it’s best to export audio in a lossless format for the highest quality or MP3 to save storage space.
As much as I love my vinyl collection, it is far from practical compared to digital formats. So, why not have the best of both worlds and back up your analog music with a digital copy that can be played on your devices?
Why I’m Digitizing My Music Collection
It is now easier than ever to convert your old vinyl and cassette tapes into a digital format using analog-digital converters and various software solutions. Here’s why I’m doing it.
Listen to Analog Music on the Go
The Sony Walkman may have revolutionized mobile music on cassette, but modern digital devices are far more practical and robust. While most popular recordings can be found on streaming platforms, rare and non-commercial records won’t, and many of us choose not to pay a monthly premium for music streaming.
Protect Your Delicate Analog Collection
Analog music can quickly show signs of wear and tear with repeated use, even in the most careful hands. Creating a digital backup can save cassette tapes from becoming damaged or distorted over time, vinyl from attracting phantom scratches, and packaging from becoming worn with repeated handling.
Back-Up Out-of-Print Recordings
Much of the music released in the 20th century simply isn’t available in its original format. Some rarities must be sourced from Japan, where companies re-release old stock at elevated prices. Others are first presses that might be worth a lot of money. Backing up these records gives you peace of mind and helps preserve their content, even if it’s just for sharing with friends and family.
The Hardware and Software Required
I have been converting my records to digital formats since buying my first digital audio workstation in 2001. Those were the days of Napster, iPods, Nokia phones, and my trusty iMac G4 with one gigabyte of RAM, but the principles remain the same today. Digitizing your analog music requires some form of analog-to-digital converter (ADC) and music production software.
A Record/Cassette Player with a USB Connection
While they are not commonplace, a record or cassette player with a USB output is the easiest way to get your analog audio into a computer, as they have built-in ADCs. Connect these to a computer and select them as your input source, and you will be ready to digitize your analog audio.
An Analog to Analog-to-Digital converter
You will most likely require a dedicated ADC to convert your audio. Many computers have integral sound cards or line inputs (not to be confused with mic inputs) to connect the phono output of a record player or a 3.5mm audio cable. If your computer doesn’t have an integrated ADC, you’ll need an external sound card/analog-digital converter that goes between the computer and the analog music player in the signal path.
Music Production Software
Once you have the hardware to convert your analog audio to digital, you must process it using music production software. This hardware and software combination is called a digital audio workstation, or DAW, and can be used for creating, editing, or digitizing music. Mac users can use Garageband to process their audio, and other free solutions like Audacity work on all platforms.
How Digitizing Analog Music Works
Analog music, like the noises we hear all around us, exists as sound waves. Digital music reproduces those sound waves using binary code. If we were to visualize an analog soundwave, it would be a smoothly sweeping curve, much like an ocean wave.
When we digitize analog music, the sound wave resembles a series of ascending and descending steps, with each step occurring every time a snapshot or “sample” of the sound wave is taken—the higher the sample rate per second, the more detailed the sound reproduction.
To digitize your music, you must first record your analog audio.
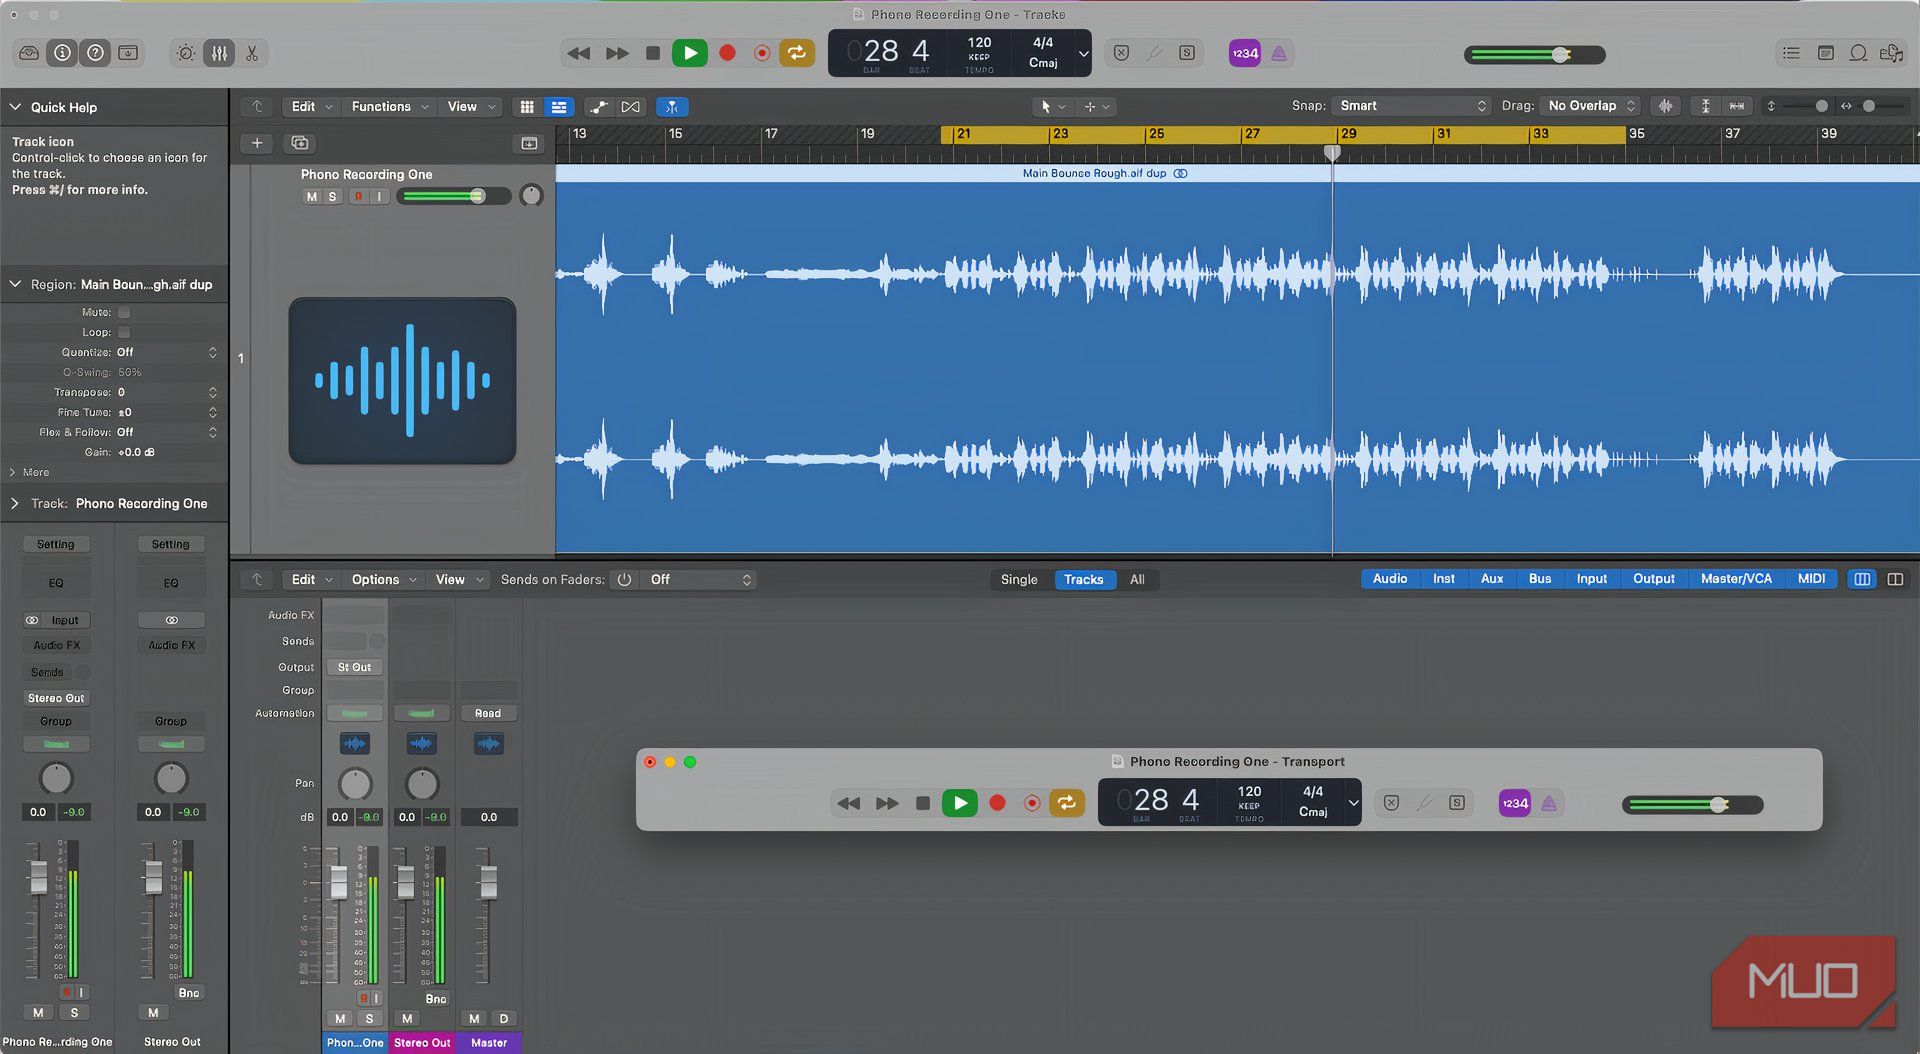
- Select your preferred audio input in your computer’s audio settings, create and activate (or “arm”) a new audio track, and hit the record button before playing your vinyl or cassette recording into your DAW. You’ll see your music visualized as a soundwave as it is recorded as an audio track.
- Once the entire side of the cassette or record is played, I usually create a new audio track and record the next side.
- Once the recording is complete, these tracks can be cut into songs and exported as digital audio files.
Like I said, it’s a time-consuming process, but it’s worth it in the long run.
5 Tips for Digitizing Your Music Collection
Digitizing your music collection will become easy once you have converted a few records. However, there are a couple of tasks to be performed either before or after you hit the red button to get the best results:
Clean Your Records or Tapeheads
While analog music should theoretically sound fuller and more detailed than compressed digital music, the sound quality is often compromised by static interference, friction, and dirt or dust particles collecting on components. Before recording your analog audio, use a tape head cleaner in your cassette player or clean your records with a record brush and ensure the needle is debris-free.
Check Your Levels Before You Record
If you have a separate level control on your ADC, start with it at a lower level (I usually default to 12 o’clock) and make sure the sound is not distorting through your speakers. When you arm your audio track in your DAW, check your mixing console to see if the meter is “clipping.” This means that it is distorting and usually shows red. If the recording level is too low, increase it, but leave yourself plenty of headroom for dynamic changes in the music.
Keep Your Audio Track Neutral
As a rule of thumb, keep your audio track free of any influencing factors. Equalizers should be set flat or turned off, and no additional plugins or effects, such as reverbs and compressors, should be active. You want your converted digital reproduction to sound as true to the original as possible. Before exporting your audio, you may wish to experiment with noise reduction plugins to remove hiss, especially if you are digitizing a cassette.
Trim Your Audio Files
Your analog audio will record as one complete track, which you can cut into sections as songs. Once you have each song separated on your arrange page, zoom in and trim the ends before and after the waveform at the start and end of each song. This eliminates hiss and crackles before and after a song and makes song transitions smoother.
Convert Your Audio to a Lossless Format
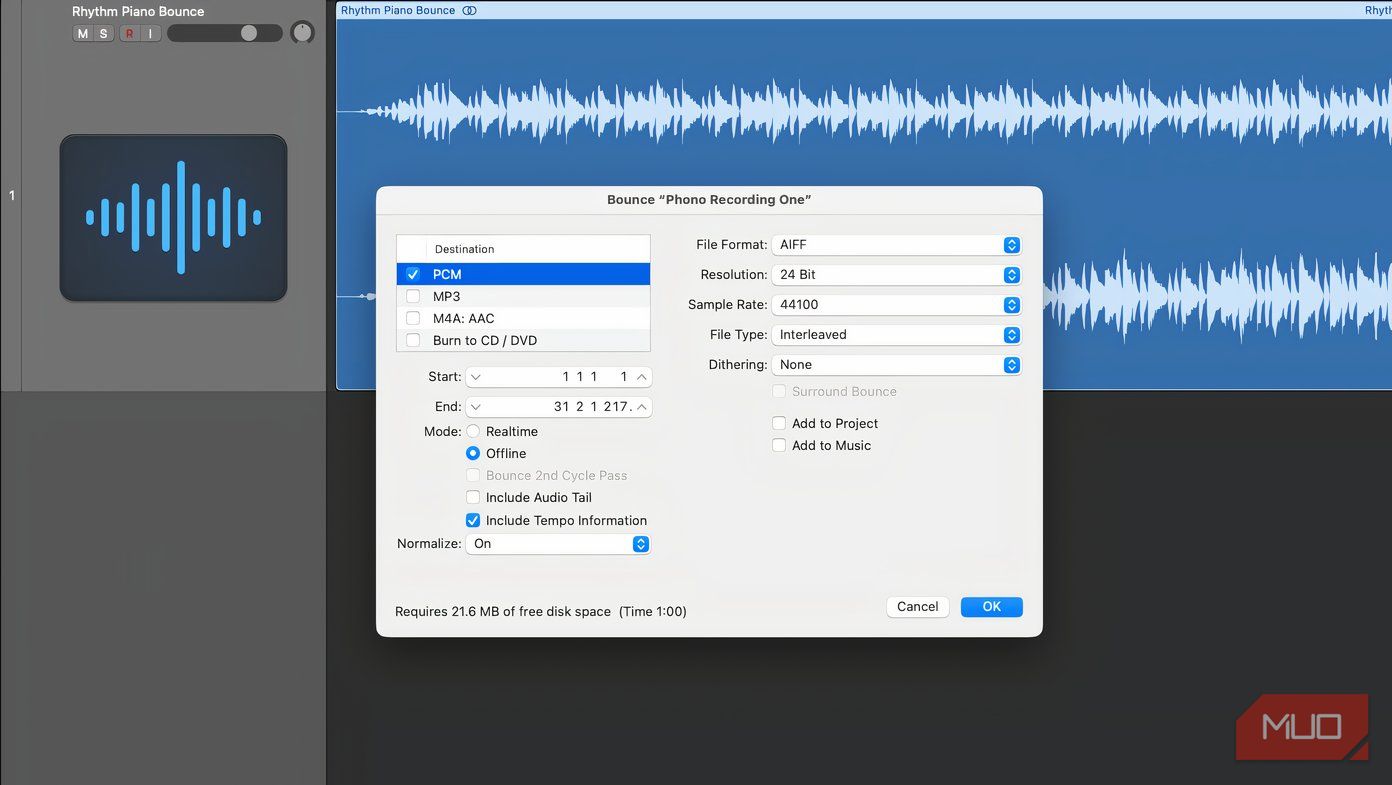
When exporting your audio as a digital file, use a high-quality digital format. Typically, you can export your audio in a lossless, uncompressed format, such as WAV or AIFF. These can be converted to other lossless digital formats, such as FLAC or ALAC, which play on most digital audio players. Alternatively, if you need to conserve space on your digital devices, you can opt for a compressed format like MP3, although there will be a compromise in quality.
While digitizing your analog music may sound like a lot of trouble, it’s well worth it to be able to play it on digital devices alone. You’ll likely already own most of the materials you need to convert analog music, and an abundance of free software is available. It is a fun process that teaches you about audio editing and music production, and it will ultimately extend the life of your precious analog music collection so you can enjoy it for years to come.


